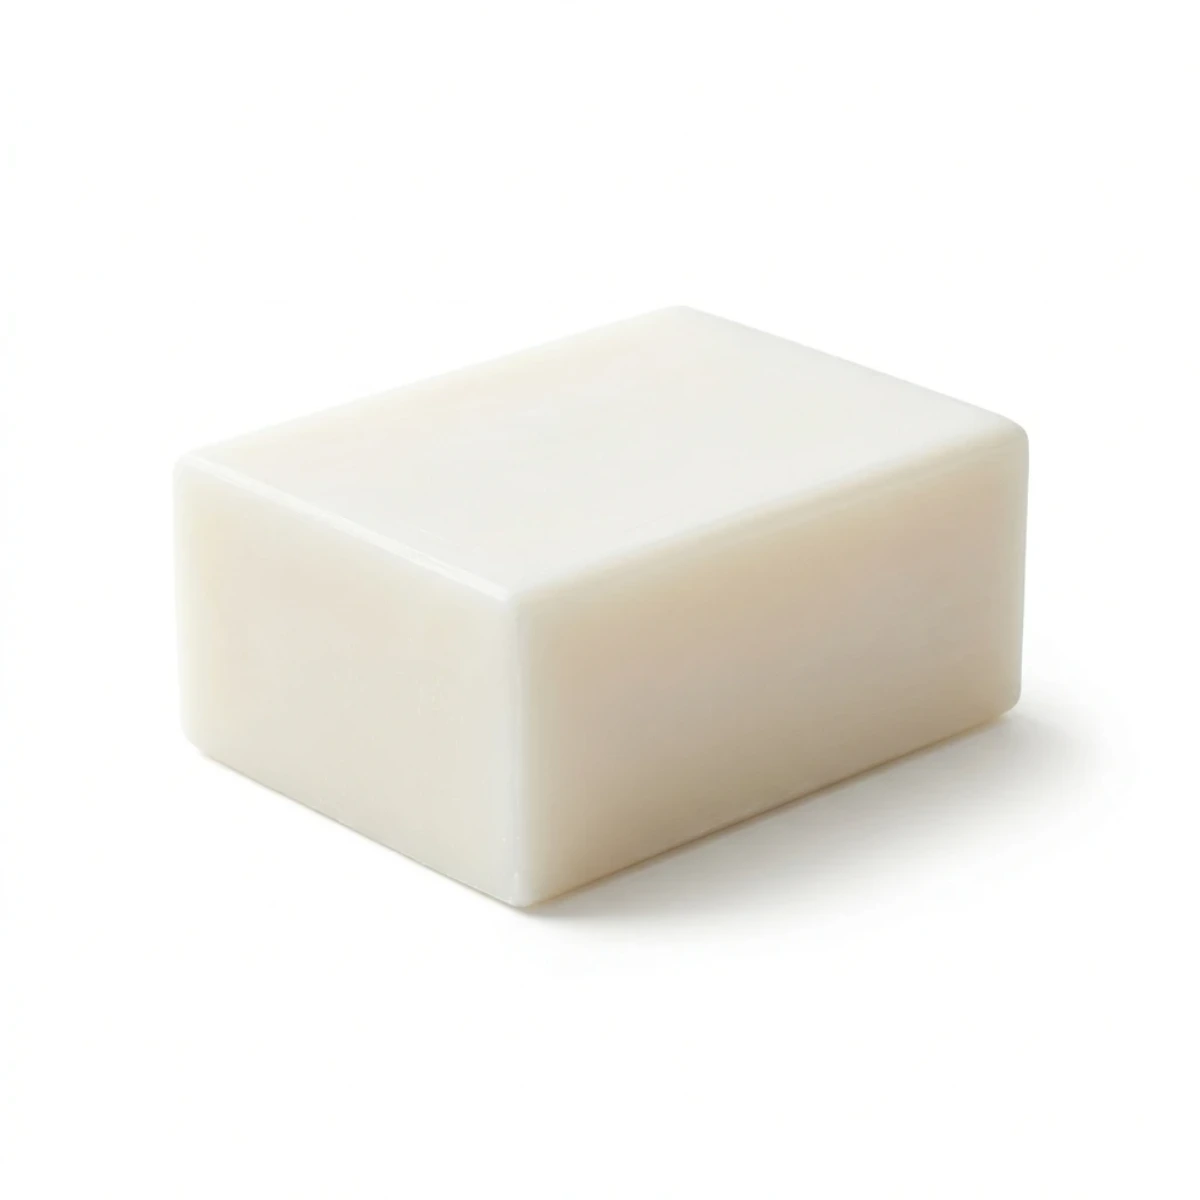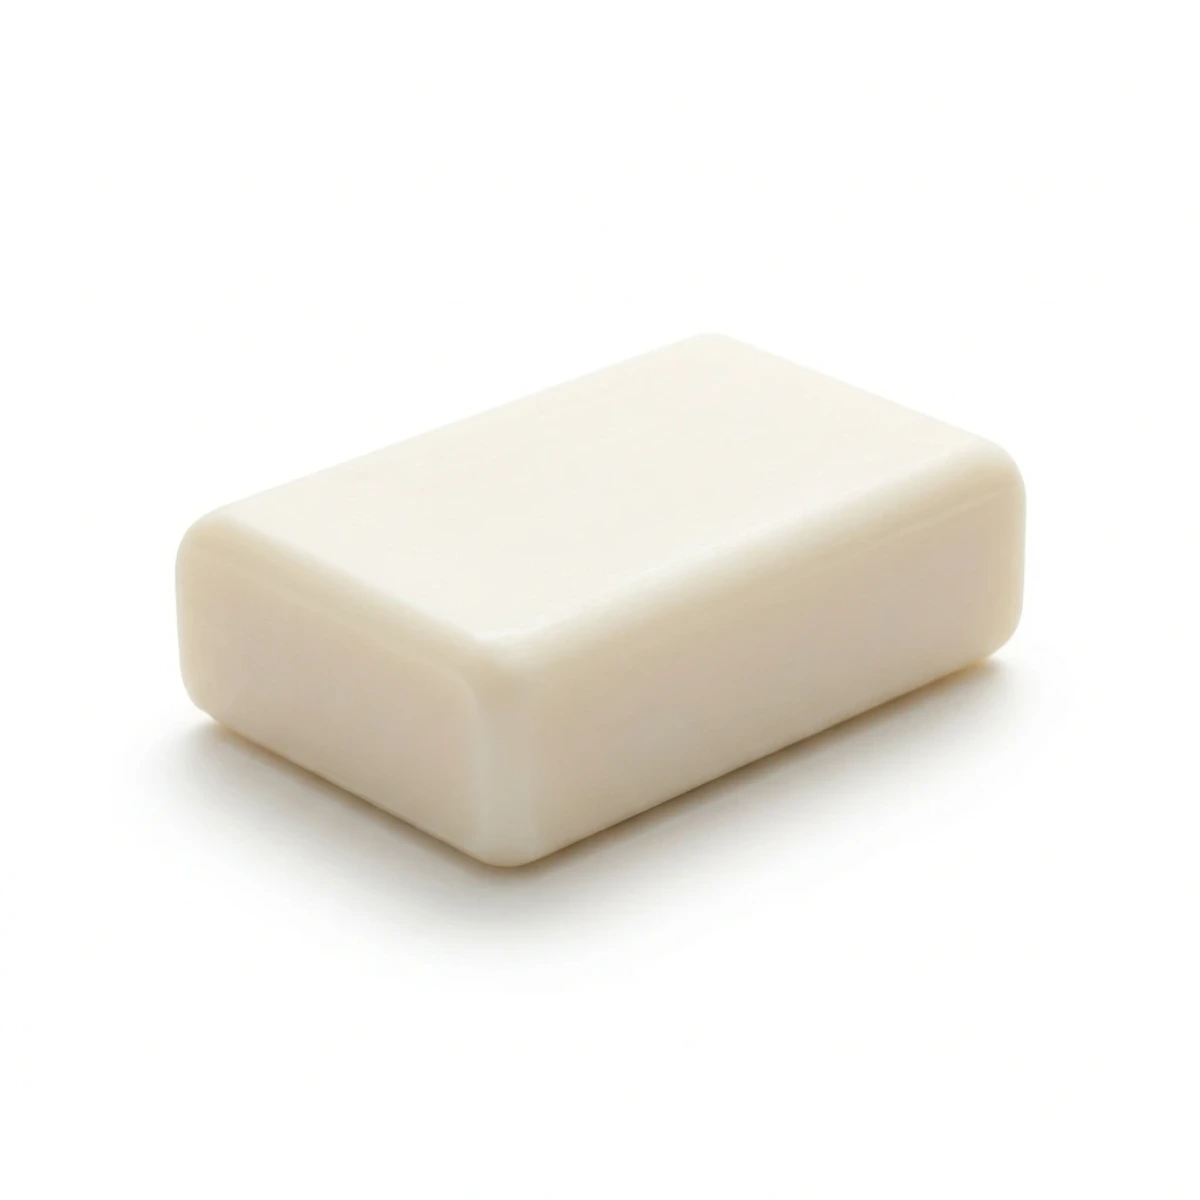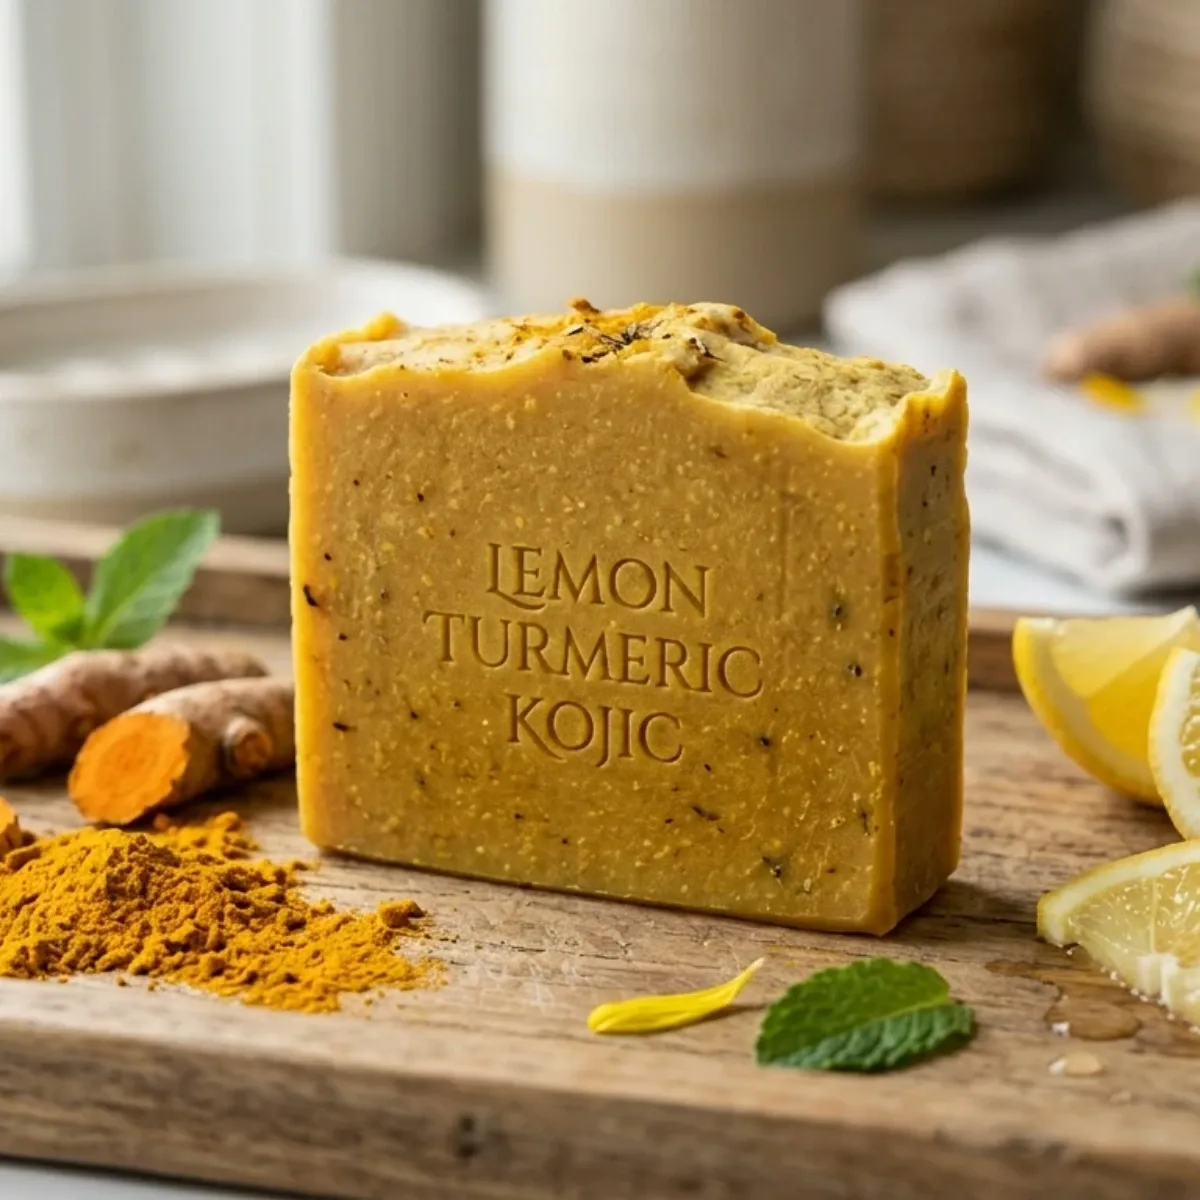

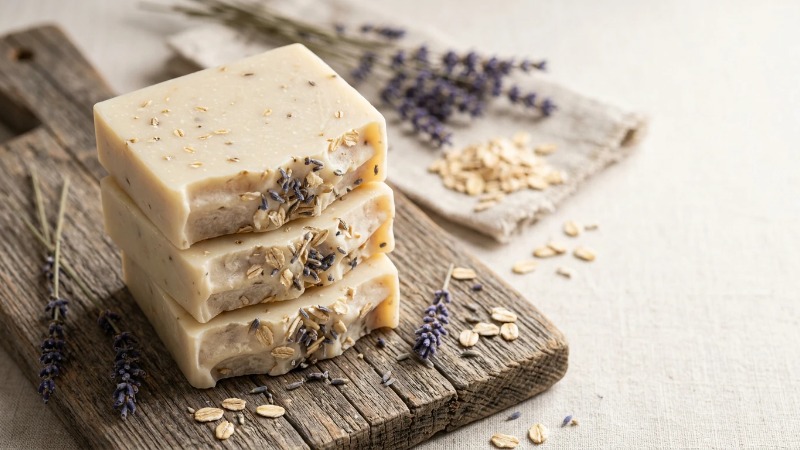
Maya's first batch of soap ended up in the trash — she poured lye crystals into a warm bowl of oils, watched the mixture seize into a crumbly, overheated mess, and nearly burned her thumb doing it. Her second attempt, a lavender-oatmeal bar made two weeks later, came out smooth, creamy, and genuinely good enough to gift. The difference wasn't talent. It was following the right order, measuring by weight, and respecting the chemistry.
This guide walks you through two reliable methods to produce usable soap bars at home: cold process (from scratch, using lye) and melt & pour (lye-free, beginner-friendly). You'll learn the safety rules, the exact steps, and how to fix the mistakes almost everyone makes early on.
Key Takeaways
- Pick your method first: melt & pour is lye-free and ready in hours; cold process offers full control but needs a 4–6 week cure.
- Lye safety is non-negotiable: wear goggles and gloves, ventilate the space, and always add lye to water — never the reverse.
- Measure everything by weight, not volume, and verify ratios with a lye calculator before mixing.
- "Trace" is your signal that oils and lye have emulsified enough to pour.
- Patch-test finished soap on your inner forearm for 24–48 hours before regular use.
From Kitchen Experiment to First Perfect Bar
What is homemade soap? It's the result of saponification — a chemical reaction where oils or fats combine with an alkali (sodium hydroxide for bar soap) to form soap and natural glycerin. When done correctly, no free lye remains in the finished bar.
Here's what you'll need before you begin: a bit of kitchen counter space, decent ventilation, basic safety gear, and patience. Cold process takes roughly 4–6 hours of active work spread across a day, plus weeks of curing. Melt & pour can be done in an afternoon. Neither requires a chemistry degree — just careful habits.
Two Ways to Make Soap: Which Method Fits You?
Before buying a single ingredient, decide how hands-on you want to be. The choice comes down to whether you're comfortable handling lye and how long you're willing to wait.
Cold Process Soap (From Scratch)
This method mixes lye solution with oils to trigger saponification yourself. You control every ingredient, from the oil blend to the scent. The trade-off: you handle caustic lye, and the bars need a 4–6 week cure before use. This is the route for anyone who wants true natural soap making with full creative freedom.
Melt & Pour Soap (Beginner-Friendly)
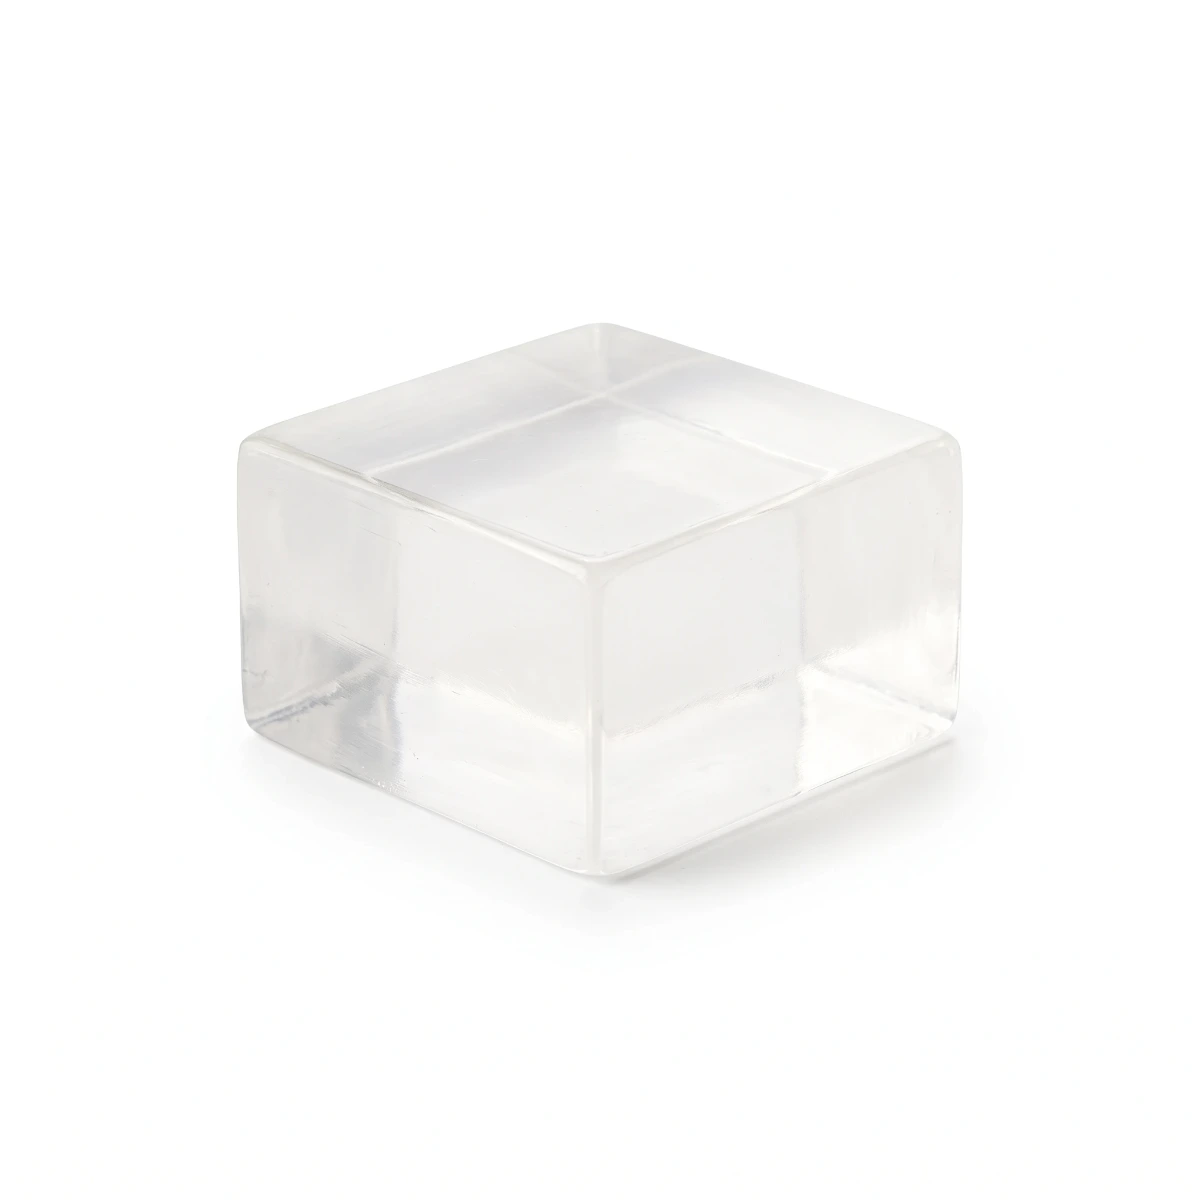
Here you melt a pre-made soap base (the saponification is already done), then customize it with color, scent, and additives. There's no lye to handle, and bars are usable within a couple of hours. It's the safest on-ramp into DIY soap making.
Method Comparison Table
| Method | Difficulty | Lye Handling | Cure Time | Cost | Customization | Best For |
|---|---|---|---|---|---|---|
| Cold Process | Moderate–High | Yes | 4–6 weeks | Lower per bar | Full control | Hobbyists wanting natural soap recipes from scratch |
| Melt & Pour | Easy | No | None (1–2 hr cooling) | Higher per bar | Surface-level (color, scent, embeds) | First-timers, kids' projects, quick gifts |
Pros & Cons of Each Method
| Advantages | Limitations |
|---|---|
| Cold process: complete ingredient control, cost-effective at scale, rich natural glycerin, endless recipe variation. | Cold process: lye is caustic and requires respect; long cure; more equipment and room for error. |
| Melt & pour: no lye, fast results, forgiving, great for beginners and children (supervised). | Melt & pour: limited control over base formulation; additives capped by what the base tolerates; can sweat in humidity. |
Safety First: Working With Lye and Ingredients
If you remember one section of this guide, make it this one. Lye (sodium hydroxide) is genuinely dangerous when mishandled — it can cause chemical burns and release fumes. Treat it with the same caution you'd give oven cleaner or drain opener.
Lye Safety Essentials
- Wear chemical splash goggles, nitrile gloves, and long sleeves.
- Work in a well-ventilated area; the fumes when lye meets water are sharp — avoid inhaling them.
- Always add lye to water, never water to lye. Reversing it can cause a volcanic eruption of caustic liquid.
- Keep a bottle of vinegar nearby to neutralize minor spills on surfaces.
- Keep children and pets out of the room entirely.
Understanding Saponification and "Superfatting"
During saponification, every lye molecule bonds with an oil molecule. A correctly calculated cold process soap recipe converts all the lye, leaving none in the finished bar. This is why measuring matters so much.
Superfatting means using slightly more oil than the lye can fully react with — typically 5–8% extra. Those leftover oils stay in the bar, making it gentler and more moisturizing. It's a built-in safety buffer, too, since it guarantees no excess lye.
Patch Testing and Skin Sensitivity
Before using any homemade bar regularly, do a patch test: rub a little lather on the inner forearm, rinse, and wait 24–48 hours for any reaction. Essential oils and fragrances are common irritants, so go easy on them. Avoid making medical or "cures" claims about your soap — it cleanses skin; it is not a treatment.
Tools and Materials You'll Need
Gather everything before you start. Once lye is mixed, you don't want to be hunting for a spatula.
Equipment Checklist
- Digital kitchen scale (measures to 1 gram)
- Stick (immersion) blender
- Thermometer (candy or infrared)
- Heat-safe plastic or stainless containers (no aluminum — it reacts with lye)
- Silicone loaf or bar mold
- Silicone spatula and heat-resistant stirring spoon
Dedicate these tools to soap making. Don't return lye-exposed equipment to food use.
Ingredients Table (Sample Beginner Cold Process Recipe)
| Ingredient (INCI) | Amount | Function | Notes |
|---|---|---|---|
| Olive oil (Olea Europaea) | ~500 g | Conditioning, mild lather | Gentle base oil |
| Coconut oil (Cocos Nucifera) | ~300 g | Hardness, bubbly lather | Keep under ~30% to avoid drying |
| Shea butter or palm alternative | ~200 g | Hardness, creaminess | Choose sustainably sourced options |
| Sodium hydroxide (lye) | Per calculator | Saponifying agent | Always verify with a lye calculator |
| Distilled water | Per calculator | Dissolves lye | Distilled only — tap minerals interfere |
| Essential oil (e.g., Lavandula Angustifolia) | ~30 g | Fragrance | Follow safe usage rates |
[Placeholder: photo of weighed ingredients laid out on a scale]
Choosing Oils and Additives
Base oils shape your bar's personality. Coconut and palm add hardness and bubbles; olive and shea add conditioning and mildness. Balance is key — an all-coconut bar lathers like crazy but can feel drying.
For color and texture, natural options work beautifully: clays (kaolin, rose), spirulina for green, ground oatmeal for gentle exfoliation, and poppy seeds for scrub. Start small — a teaspoon of additive per pound of oils is a reasonable starting point.
How To Make Cold Process Soap: Step-by-Step
Step 1: Measure and Prepare Ingredients by Weight
Weigh every ingredient in grams — volume measurements are unreliable for saponification. Run your recipe through a trusted lye calculator to confirm the exact lye and water amounts for your chosen oils and superfat percentage. This single habit prevents most failed batches.
Step 2: Mix the Lye Solution Safely
With goggles and gloves on, slowly pour the weighed lye into the distilled water (never the reverse), stirring gently. It will heat rapidly and turn cloudy, then clear. Set it aside in a safe spot to cool to around 100–120°F (38–49°C).
Step 3: Melt and Combine Oils
Gently melt your solid oils, then combine with liquid oils. Aim for the same temperature window as your lye solution — roughly 100–120°F (38–49°C). Matching temperatures helps the two emulsify smoothly.
Step 4: Blend to "Trace"
Pour the lye solution into the oils and blend with your stick blender in short pulses. Watch for trace — the point where the mixture thickens.
- Light trace: thin, like pourable custard; drizzled soap leaves a faint trail.
- Medium trace: pudding-like; trails hold briefly on the surface.
- Thick trace: heavy, like frosting; good for swirls but harder to pour.
Step 5: Add Fragrance, Color, and Extras
At light-to-medium trace, stir in essential oils, natural colorants, and exfoliants. Follow safe usage rates for fragrance (generally a small fraction of total oil weight). Mix thoroughly but quickly — some additives accelerate thickening.
Step 6: Pour, Insulate, and Set
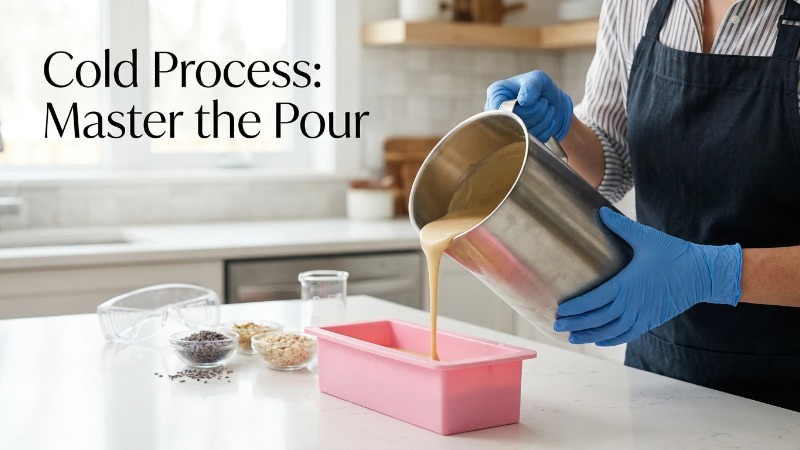
Pour into your silicone mold and tap it to release air bubbles. Cover and lightly insulate with a towel to retain warmth through the initial reaction. Leave undisturbed for 24–48 hours before unmolding.
[Placeholder: photo of soap batter poured into a loaf mold]
Step 7: Cut and Cure
Once firm, unmold and cut into bars. Then cure them on a rack with airflow for 4–6 weeks. Curing lets excess water evaporate, producing a harder, milder, longer-lasting bar. Rushing this is the most common beginner regret.
How To Make Melt & Pour Soap: The Fast-Track Method
Step 1: Cut and Melt the Soap Base
Chop the pre-made base into small cubes for even melting. Heat in a microwave in 20–30 second bursts, or use a double boiler. Stir between intervals and stop as soon as it's fully liquid — never let it boil, which can scorch the base.
Step 2: Add Color, Fragrance, and Additives
Stir in skin-safe colorants and fragrance at recommended concentrations (usually a small percentage by weight). Stir gently to avoid whipping in air bubbles.
Step 3: Pour, Spritz, and Cool
Pour into your mold, then spritz the surface with rubbing alcohol to pop any surface bubbles. Let cool and harden for 1–2 hours, then unmold. Your bars are ready to use right away.
Troubleshooting Common Soap-Making Problems
Troubleshooting Table
| Problem | Likely Cause | Fix / Prevention |
|---|---|---|
| Soap seized (hardened instantly) | Accelerating fragrance or over-blending | Blend less; test fragrances; work at lower temps |
| False trace | Oils too cool, hardened rather than emulsified | Keep oils in the 100–120°F range; reheat gently |
| Lye pockets (caustic spots) | Incomplete mixing or wrong measurements | Blend to full trace; re-verify calculator; discard if unsure |
| Cracking on top | Overheating during cure | Reduce insulation; keep in a cooler spot |
| White "ash" on surface | Soda ash from air exposure (cosmetic only) | Cover while setting; steam or trim off |
| Soft, oily bars | Too much superfat or excess water | Recheck recipe; cure longer |
| No lather | Too little coconut/hardening oil | Adjust oil blend in next batch |
When to Discard a Batch
Safety beats salvage. If you see obvious lye pockets, persistent separation that won't remix, or suspect a measurement error, discard the batch rather than risk a caustic bar. When in doubt, throw it out and start fresh.
Storing, Labeling, and Sharing Your Soap
Store curing and finished bars in a dry spot with good airflow — not sealed in plastic, which traps moisture. Properly cured cold process soap typically keeps well for about a year, and longer if kept dry between uses.
Labeling Basics (If You Plan to Sell or Gift)
List ingredients using INCI names, note the net weight, and flag common allergens like nuts or specific essential oils. Be aware that selling cosmetics may trigger regional labeling and safety regulations — check your local requirements before selling, rather than assuming a single rule applies everywhere.
Frequently Asked Questions
Is homemade soap safe if it contains lye?
Yes, when made correctly. Saponification fully converts the lye, so a properly measured and cured cold process bar contains no free lye. The risk exists only during handling, which is why safety gear and accurate measuring matter.
How long does homemade soap last?
Cured cold process soap generally lasts around a year, sometimes longer. Shelf life depends on the oils used and storage — keep bars dry and ventilated to prevent rancidity.
Can I make soap without lye?
Technically, all soap requires an alkali to form. But with the melt & pour method, the saponification is already done for you in the pre-made base, so you never handle lye yourself.
What oils are best for sensitive skin?
Mild, conditioning oils like olive oil and shea butter, combined with a generous superfat, tend to be gentler. Keep fragrance minimal and always patch-test. Avoid claiming a bar treats any skin condition.
Why does my soap have no lather?
Usually it's the oil blend — bars heavy in olive oil lather modestly. Adding a moderate amount of coconut oil or a small percentage of castor oil typically improves bubbles in your next batch.
Do I need a curing period for melt & pour soap?
No. Melt & pour soap is already saponified, so it only needs 1–2 hours to cool and harden before use. Curing is specific to cold process bars.
Ready to Make Your First Bar?
Start small and low-risk: make a simple melt & pour batch this weekend to get comfortable with molds, color, and scent. Once you've nailed that, graduate to a basic cold process recipe with full safety gear — that's where the real craft begins.
Next step: download a printable beginner recipe card to keep your measurements and steps at hand, and subscribe for more natural personal-care tutorials. Your first perfect lavender-oatmeal bar is closer than you think.