
Search interest in DIY skincare has climbed steadily on retail and craft platforms over the past few years, and turmeric bars are one of the fastest-moving categories in handmade soap shops. A boutique golden-turmeric bar can run $12 to $18, yet the raw ingredients for a comparable batch cost a fraction of that. That gap is exactly why so many people are cutting out the middleman and pouring their own.
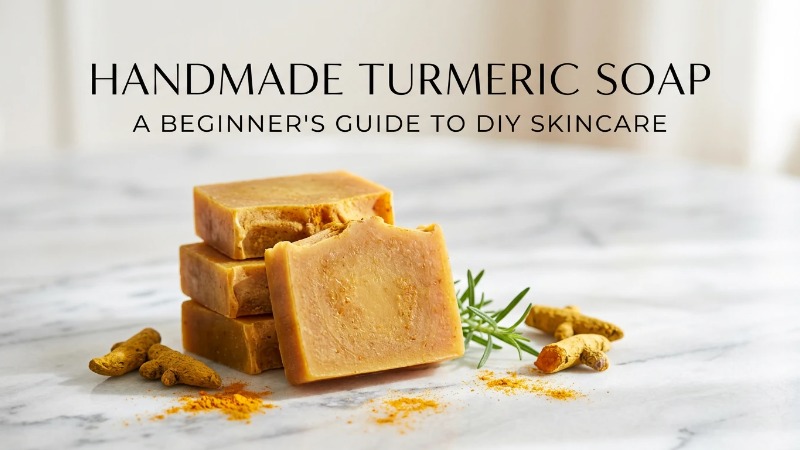
This guide walks you through two proven methods: an easy melt and pour soap base approach that's ready in an afternoon, and a from-scratch cold process soap making route for those who want full control. You'll get exact steps, honest expectations, and a safety-first mindset throughout. The goal here is informational and practical — a complete, tested walkthrough you can follow on your first try.
Key Takeaways
- Pick your method by experience: melt-and-pour is beginner-friendly (1–2 hours, no lye); cold process is advanced (4–6 week cure, requires lye).
- Use turmeric sparingly — roughly ½ to 1 teaspoon per pound of soap. More causes staining, not more benefit.
- Always patch-test the finished bar for 24–48 hours before regular use.
- Set realistic expectations: turmeric soap gently cleanses and offers mild antioxidant support; it is not a skin-lightening treatment or a cure for skin conditions.
- Cold process requires strict lye safety — goggles, gloves, ventilation, and adding lye to water (never the reverse).
What You'll Make and What to Expect Before You Start
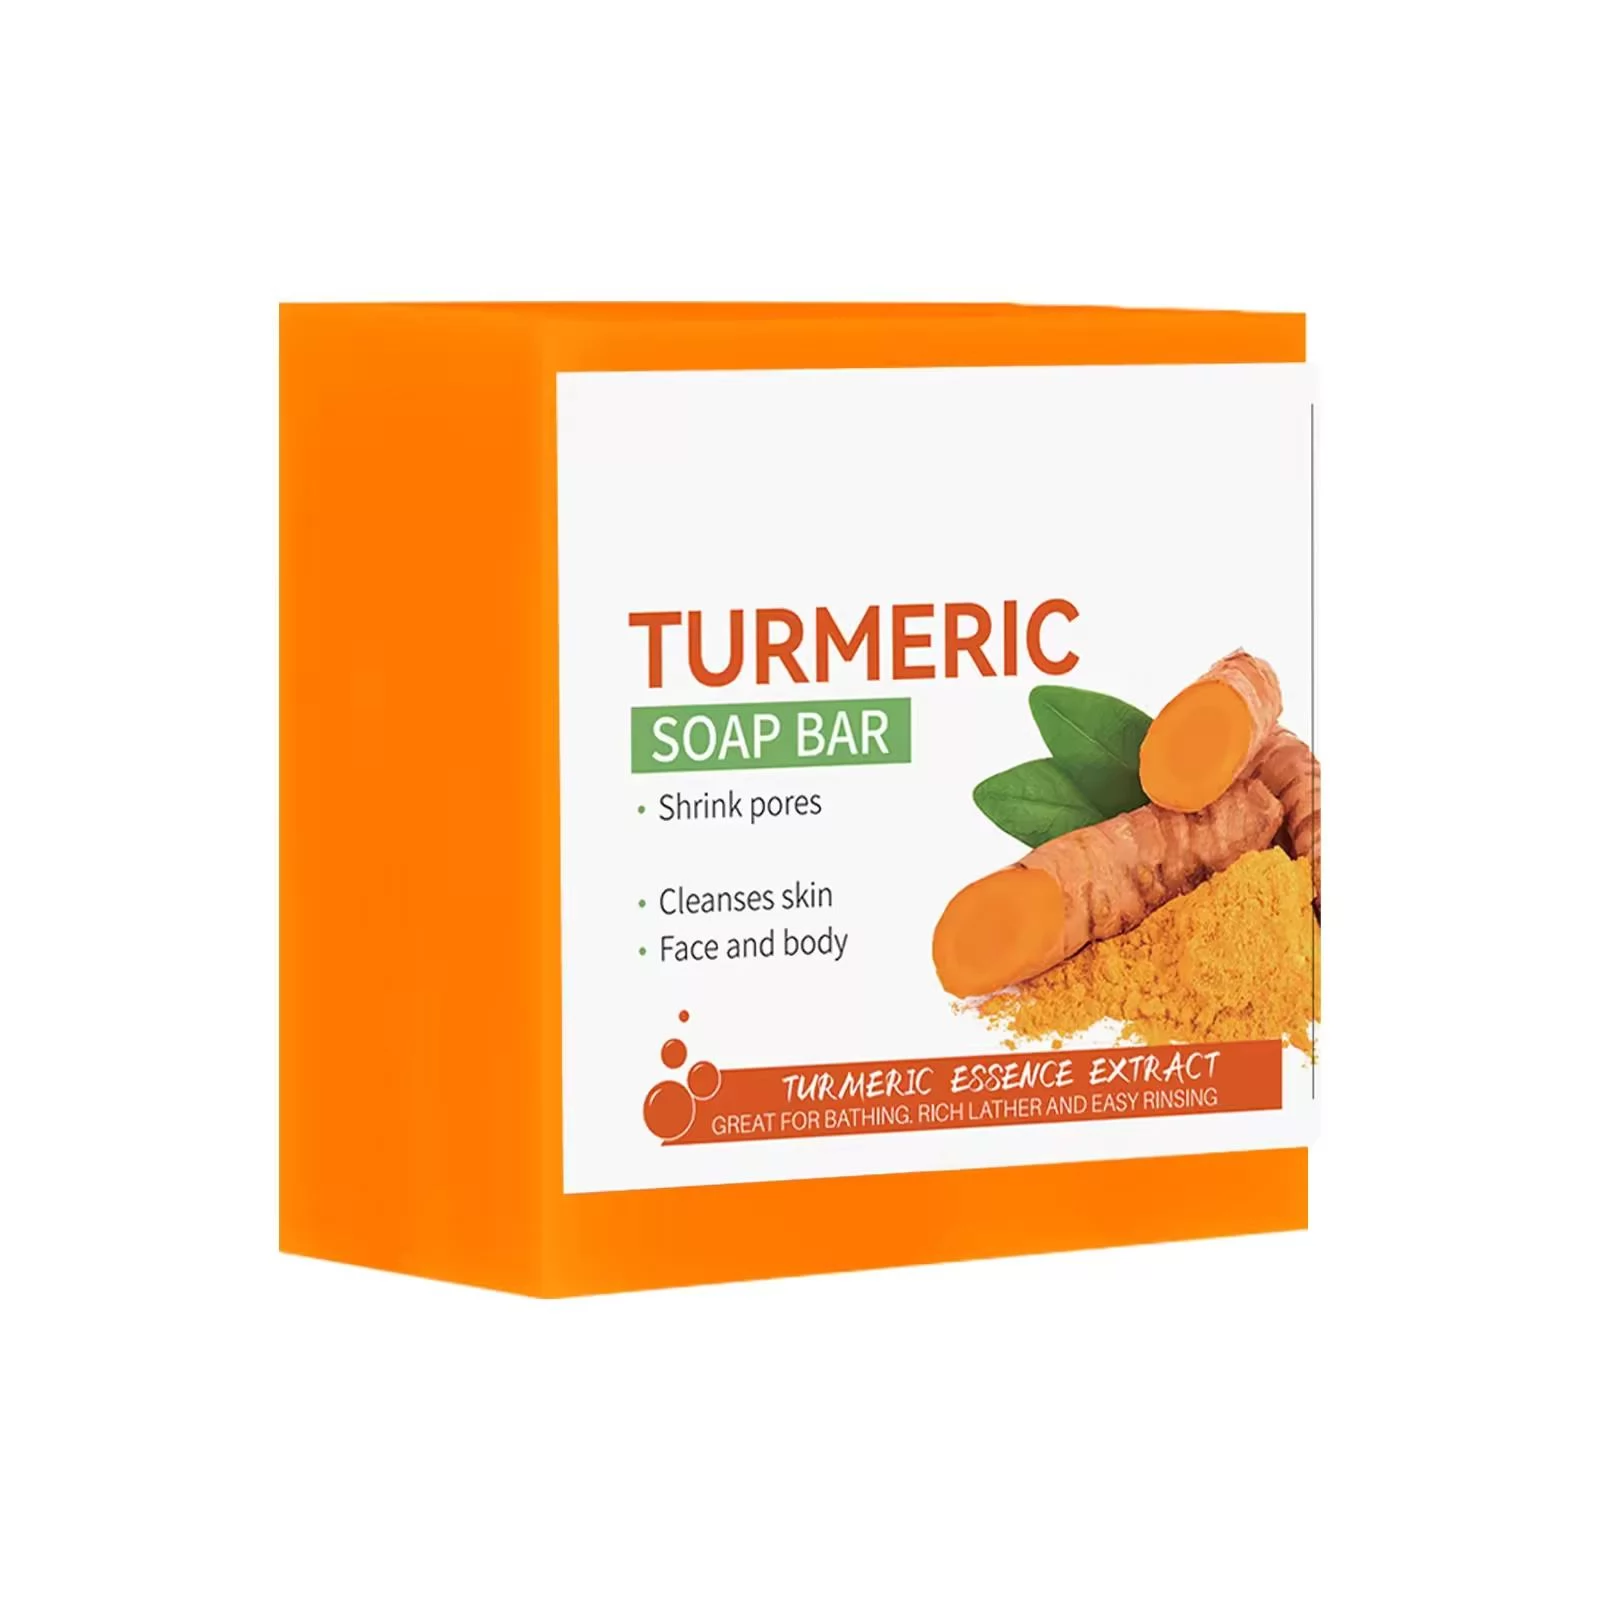
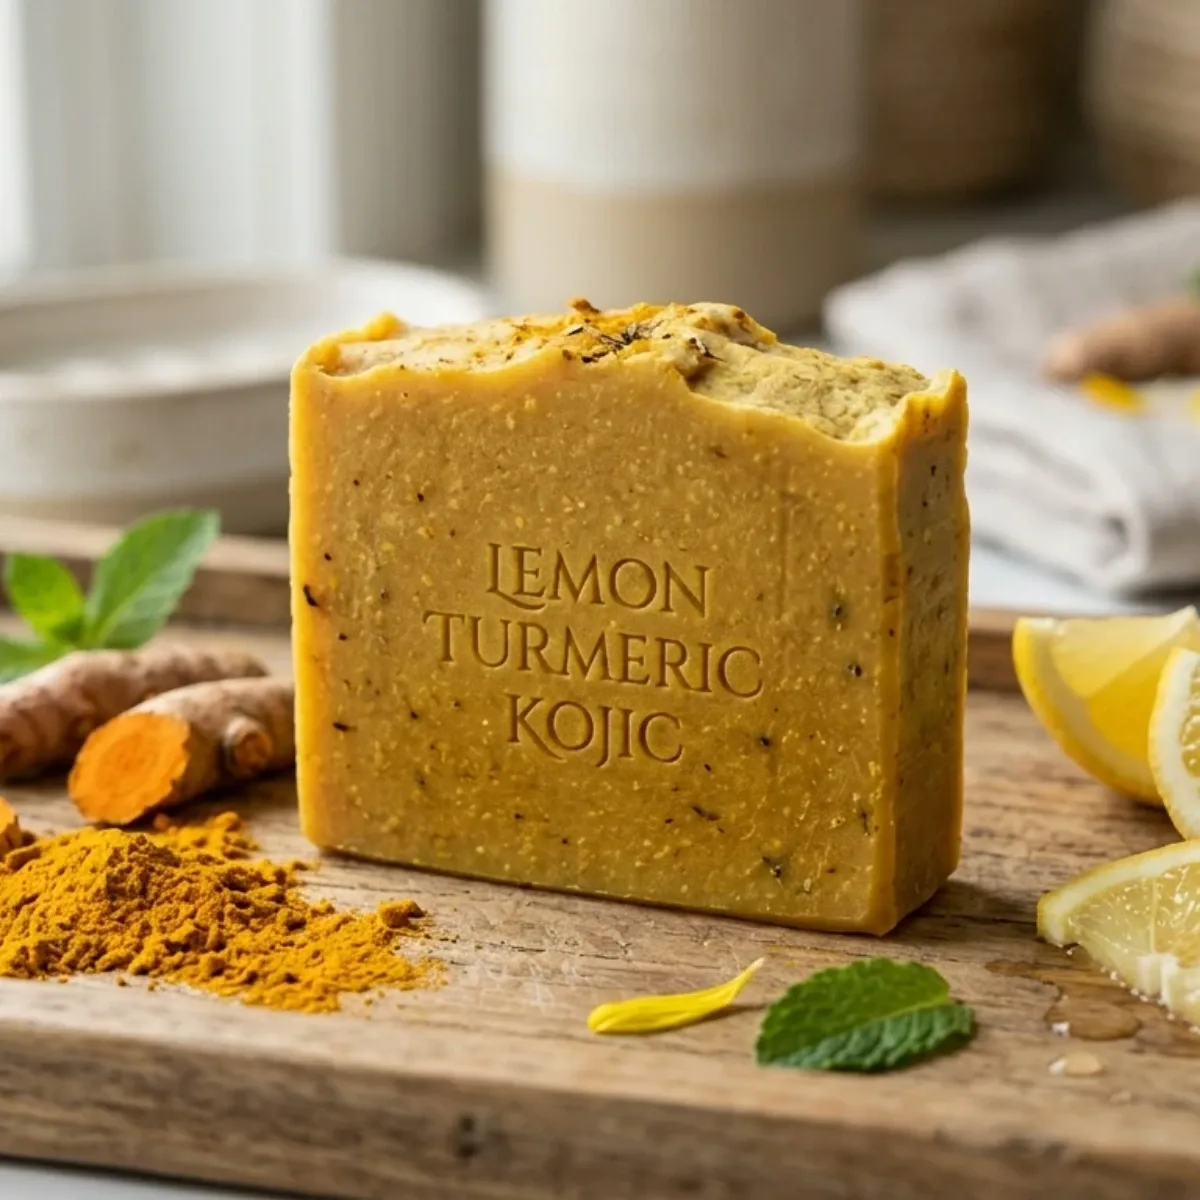
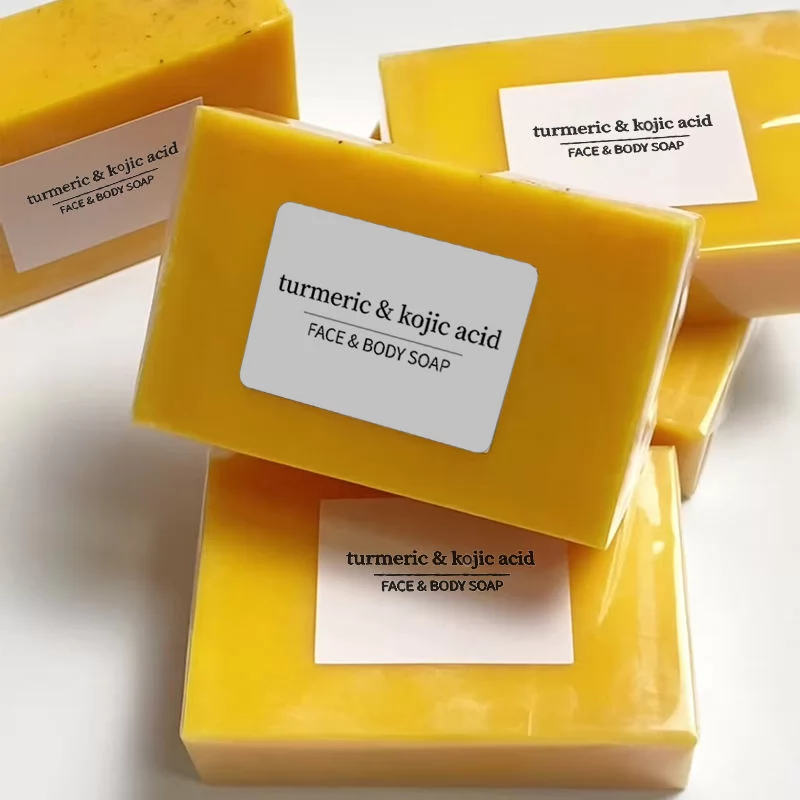
You'll end up with a golden-to-amber colored cleansing bar scented (if you choose) with essential oils and infused with Curcuma longa root powder. It's a rinse-off product meant for everyday washing of hands, body, or — with care — the face.
Be honest with yourself about the results. The color ranges from pale butter-yellow to deep orange depending on how much turmeric you add. The scent is earthy unless you add fragrance, and the skin feel depends entirely on your oils or soap base.
The Two Methods at a Glance
Melt-and-pour means you buy a pre-made, pre-saponified base, melt it, and customize it. No lye, no chemistry, very low risk — ideal for a first-timer.
Cold process means you build the soap from raw oils and sodium hydroxide (lye). It offers far more customization but demands respect for the chemistry and a long cure. If you've never made soap, start with melt-and-pour.
| Factor | Melt & Pour | Cold Process |
|---|---|---|
| Difficulty | Beginner | Intermediate/Advanced |
| Total time | ~1–2 hrs | 4–6 weeks (with cure) |
| Lye handling | No | Yes |
| Customization | Moderate | High |
Realistic Outcomes and Honest Claims
Turmeric soap can cleanse gently and may offer mild antioxidant support at the skin's surface. Many people simply enjoy the ritual and the warm color. Those are reasonable expectations.
What it cannot do: it is not a guaranteed "brightening" product, it won't cure acne or hyperpigmentation, and it isn't a substitute for medical care. Soap rinses off within seconds, so any active ingredient has very limited contact time with your skin.
Turmeric Soap Benefits (and the Honest Caveats)
Turmeric's most-studied compound is curcumin, a plant pigment researchers have examined for antioxidant and anti-inflammatory activity. That reputation is a big part of why turmeric soap appeals to people with oily or blemish-prone skin.
Among the frequently cited turmeric soap benefits: a gentle cleanse, a pleasant warming color, and a nature-forward ingredient list you control yourself.
What the Evidence Actually Supports
The general research consensus is that topical turmeric shows antioxidant and soothing properties in lab and small clinical settings. However, most of that work uses concentrated leave-on formulations, not rinse-off soap.
Translation: don't expect dramatic, clinical-level results from a bar you wash off in seconds. Treat the benefits as a nice bonus, not a promise.
Who Should Be Cautious
People with sensitive skin, a known allergy to turmeric or ginger-family plants, or a tendency toward contact reactions should proceed carefully. Turmeric also stains — skin, grout, towels, and light countertops are all fair game.
Patch-testing isn't optional for these groups; it's the single most important step you can take.
Tools and Materials You'll Need
Gather everything before you start. Soap-making moves quickly once the base is melted or trace is reached, and scrambling for a spatula mid-pour is how mistakes happen.
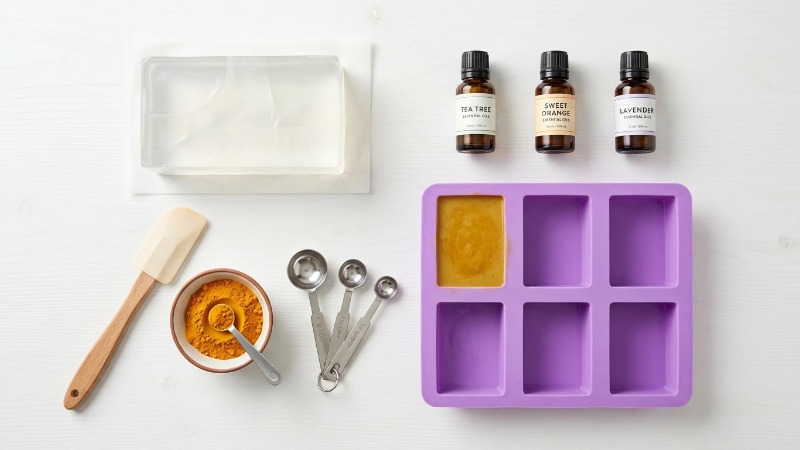
Core Equipment
- Digital kitchen scale (grams and ounces)
- Thermometer (infrared or probe)
- Soap mold (silicone loaf or cavity molds)
- Heat-safe mixing bowls
- Silicone spatula and a stainless spoon
- Nitrile gloves and safety goggles
- Stick blender (cold process only)
For cold process, keep any equipment that touches raw lye dedicated to soap-making — never return it to food use.
Ingredients for Melt & Pour
- Glycerin or shea-butter melt and pour soap base
- Curcuma longa (turmeric) root powder
- A carrier oil (e.g., sweet almond, jojoba, or olive)
- Optional: skin-safe essential oil, honey, fine exfoliant
Ingredients for Cold Process
- Base oils (e.g., olive, coconut, shea, castor)
- Sodium hydroxide (NaOH) — food-grade lye, high purity
- Distilled water
- Turmeric powder
- Optional additives (essential oils, kaolin clay)
Always run any cold-process recipe through a trusted online lye calculator before mixing. Ingredient weights are not interchangeable, and the wrong ratio produces a caustic, unsafe bar.
| Material | Melt & Pour | Cold Process | Approx. Cost Range |
|---|---|---|---|
| Soap base / oils | ✔ | ✔ | Mid — bulk buying lowers per-bar cost |
| Turmeric powder | ✔ | ✔ | Low — a small jar lasts many batches |
| Lye (NaOH) | — | ✔ | Low, but sold in bulk quantities |
| Molds | ✔ | ✔ | Low to mid — reusable for years |
Safety First: Lye, Turmeric Staining, and Patch Testing
Skip nothing in this section. It's the difference between a fun hobby and a chemical burn or ruined countertop.
Handling Lye Safely (Cold Process Only)
Work in a well-ventilated area — near an open window or under a range hood. Wear goggles and gloves the entire time, and keep children and pets out of the room.
Always add lye to water, never water to lye. The reverse can cause a volcanic eruption of caustic liquid. Standard soap-making safety guidance from craft-industry associations and established formulators is consistent on this point.
Keep white vinegar nearby to neutralize skin splashes, and rinse any spill with plenty of cool water.
Preventing and Removing Turmeric Stains
Line surfaces with wax paper or a silicone mat. Use dedicated bowls and utensils, since turmeric can permanently tint plastic.
For skin stains, a gentle scrub with a bit of oil followed by soap usually lifts most of the color within a day or two. Baking soda paste helps on hard surfaces.
How to Patch-Test Your Finished Soap
- Wash a coin-sized area of your inner forearm with the finished, cured bar.
- Rinse and pat dry.
- Wait 24–48 hours.
- If you see redness, itching, or irritation, discontinue use.
How To Make Turmeric Soap: Melt-and-Pour Method (Beginner)
This is the safest, fastest route and the best place to learn how to make turmeric soap for the first time.
Step 1: Measure and Cut the Soap Base
Weigh your base — for a small batch, start with about 1 pound (roughly 450 g). Cut it into small, even cubes so it melts uniformly. Weighing beats eyeballing because it keeps your turmeric ratio consistent.
Step 2: Melt the Base Gently
Use a microwave in 20–30 second bursts, stirring between each, or a double boiler over low heat. Aim for a melted temperature around 120–140°F (49–60°C). Don't boil it — overheating burns the base and dulls the color.
Step 3: Add Turmeric and Carrier Oil
For 1 pound of base, start with about ½ teaspoon of turmeric. First bloom it in a teaspoon of carrier oil to break up clumps, then stir the slurry into the melted base. This prevents gritty specks and blotchy color.
Step 4: Add Optional Extras
If using essential oil, add 0.5–1% by weight (follow the specific oil's safe skin-use rate). A teaspoon of honey adds slip; a spoonful of fine oatmeal adds gentle exfoliation. Add these last, right before pouring, and don't overload — more additives can make the bar sweat or soften.
Step 5: Pour, Set, and Unmold
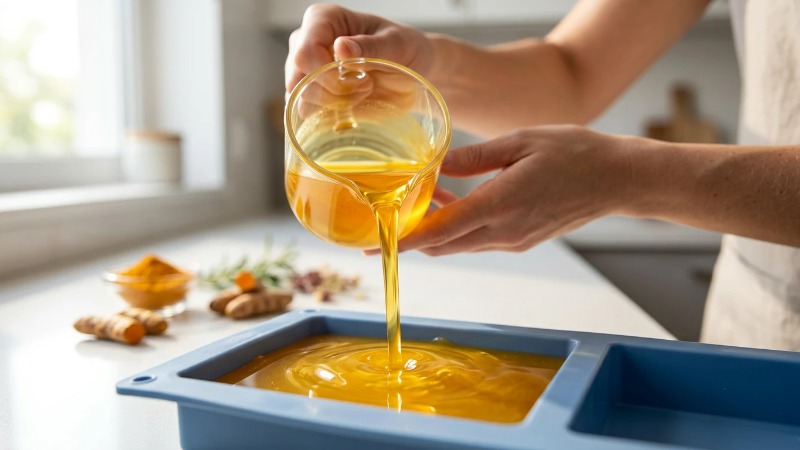
Pour into your mold, spritz the surface with rubbing alcohol to pop air bubbles, and let it sit 1–2 hours at room temperature. Once fully firm and cool, it should release cleanly from a silicone mold. It's ready to use right away.
How To Make Turmeric Soap: Cold Process Method (Advanced)
Ready to build a bar from scratch? This turmeric soap recipe approach rewards patience and precision.
Step 1: Run Your Recipe Through a Lye Calculator
Enter your exact oils and weights into a reputable lye calculator. Set a superfat of about 5% — that leaves a small amount of unsaponified oil for a gentler, non-drying bar. Verify every number before you touch the lye.
Step 2: Mix the Lye Solution Safely
Gear up in goggles and gloves. Slowly add the weighed lye to the distilled water (never the reverse), stirring gently. The solution will heat rapidly and release fumes — let it cool in a safe, ventilated spot.
Step 3: Prepare and Heat the Oils
Melt your hard oils, combine with liquid oils, and bring the blend to roughly 100–110°F (38–43°C). Aim to have your lye solution within about 10 degrees of your oils before combining.
Step 4: Blend to Trace and Add Turmeric
Pour the lye solution into the oils and pulse with a stick blender until you reach "trace" — the point where the mixture thickens to a pudding-like consistency and leaves a faint trail on the surface. Disperse about 1 teaspoon of turmeric per pound of oils in a little of your batch oil, then blend it in. Expect the color to deepen and mellow over the cure.
Step 5: Pour, Insulate, and Cure
Pour into the mold, cover, and insulate with a towel for 24 hours to hold heat through saponification. Unmold, cut into bars, and cure them on a rack in a cool, airy place for 4–6 weeks. Before first use, confirm the bars are hard and, if you test pH, that they read in the mild soap range (around 9–10) rather than harshly alkaline.
Turmeric Soap Recipe Variations to Try
Once you're comfortable, tailor your bars to your skin. These are among the most popular homemade turmeric soap tweaks.
For Oily or Blemish-Prone Skin
A small amount of tea tree essential oil, kept within its safe dilution (well under 1% for facial use), pairs well with turmeric's earthy profile. A spoonful of kaolin clay adds a light, mattifying feel. Patch-test any new active.
For Dry or Sensitive Skin
Lean on gentler oils like olive and shea, lower the turmeric to about ¼ teaspoon per pound, and skip exfoliants and strong fragrance. Less turmeric means less staining and less irritation risk.
Vegan and Fragrance-Free Options
Swap honey for a plant-based humectant and skip animal-derived additives. Leave out essential oils entirely for a fragrance-free bar. Whatever you use, list every ingredient honestly if you gift or sell your soap.
Pros and Cons of Making Turmeric Soap at Home
| Pros | Cons |
|---|---|
| Full control over every ingredient | Takes time and a learning curve |
| Cost savings over store-bought bars | Turmeric staining and cleanup |
| Customizable for your skin type | Lye handling risk (cold process) |
| Avoids unwanted additives and fillers | Inconsistent results in early batches |
Troubleshooting Common Problems
My Soap Turned Out Too Orange or Blotchy
You likely used too much turmeric or didn't bloom it in oil first. Reduce the amount next time and always disperse the powder in a little oil before adding. Note that turmeric color naturally softens and can fade with light exposure over weeks.
The Soap Won't Set or Is Too Soft
For melt-and-pour, too much added oil or liquid is usually the culprit — cut back on extras. For cold process, a soft bar can mean too much water, too high a superfat, or an inaccurate lye ratio. Recheck your calculator inputs.
It's Staining My Skin or Washcloth
Lower the turmeric load in your next batch. In the meantime, rinse thoroughly and lather fully rather than letting the bar sit on skin. Use darker washcloths to hide any transfer.
It Irritates My Skin
Stop using it immediately. Confirm you completed a proper patch-test, and consider that turmeric or an added essential oil may be the trigger. If irritation persists or worsens, see a dermatologist or other qualified professional.
Storing and Using Your Turmeric Soap
Keep bars dry between uses on a draining soap dish — sitting in water shortens their life fast. A well-cured cold-process bar can last a year or more when stored cool and dry; melt-and-pour bars are best used within a few months.
For most skin types, daily use on the body is fine. On the face, start with a few times a week and adjust based on how your skin responds.
Frequently Asked Questions
How much turmeric should I add per pound of soap?
A safe starting range is about ½ to 1 teaspoon per pound of soap base or oils. Less is often better — beyond a certain point you get more staining, not more benefit. Always bloom the powder in a little oil first to avoid clumps.
Does turmeric soap actually lighten skin?
There's no reliable evidence that a rinse-off turmeric bar lightens or brightens skin in any meaningful, lasting way. Soap contacts your skin only briefly. Enjoy turmeric soap for gentle cleansing and its mild antioxidant reputation, not as a skin-lightening treatment.
Is homemade turmeric soap safe for the face?
It can be, provided you patch-test first and your recipe uses gentle oils and a modest turmeric amount. Start with a few uses per week and watch for any redness or dryness. Discontinue if you notice irritation.
How long does homemade turmeric soap last?
A properly cured cold-process bar often keeps for a year or more if stored dry and cool. Melt-and-pour bars, which contain more glycerin, are best used within a few months. Keeping bars out of standing water extends their life.
Can I use fresh turmeric instead of powder?
You can, but fresh root introduces water and organic matter that can encourage mold or spoilage, especially in melt-and-pour soap. Dried powder is more shelf-stable and gives more consistent color. For beginners, powder is the safer choice.
Ready to Make Your First Batch?
Start simple. Gather your melt-and-pour base, a small jar of turmeric, and a carrier oil, and give the beginner method above a try this weekend — you'll have finished bars in a couple of hours. Bookmark this recipe so your quantities are handy, patch-test before regular use, and once you've nailed the basics, explore the cold-process route or branch into other DIY skincare guides. Made a batch you love? Share your results and swap tips with fellow makers — that's how the best DIY turmeric soap recipes get better.