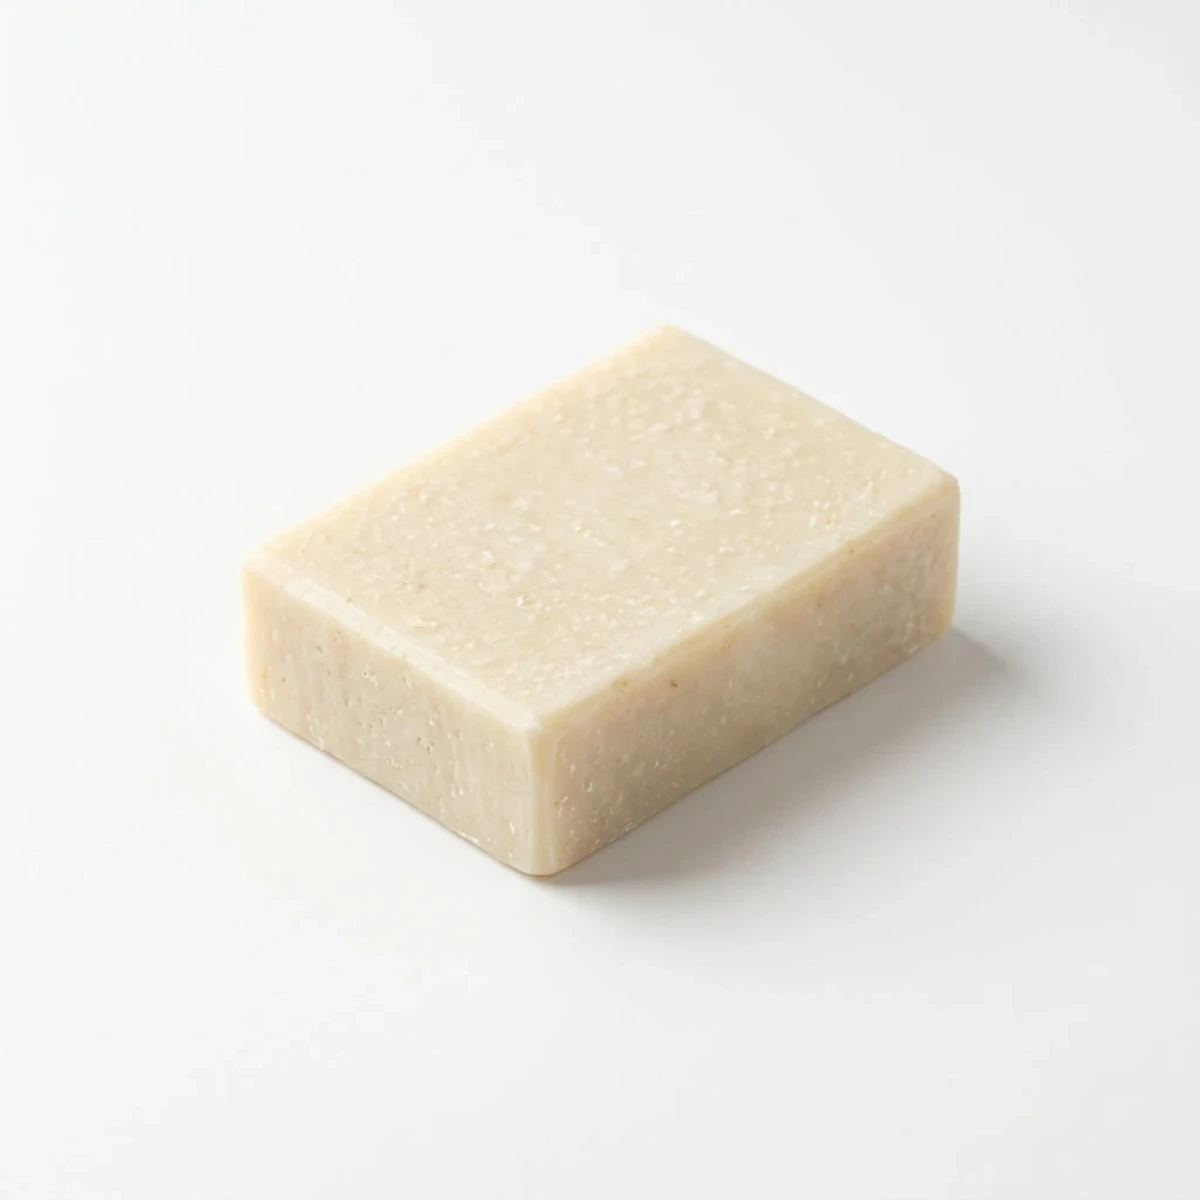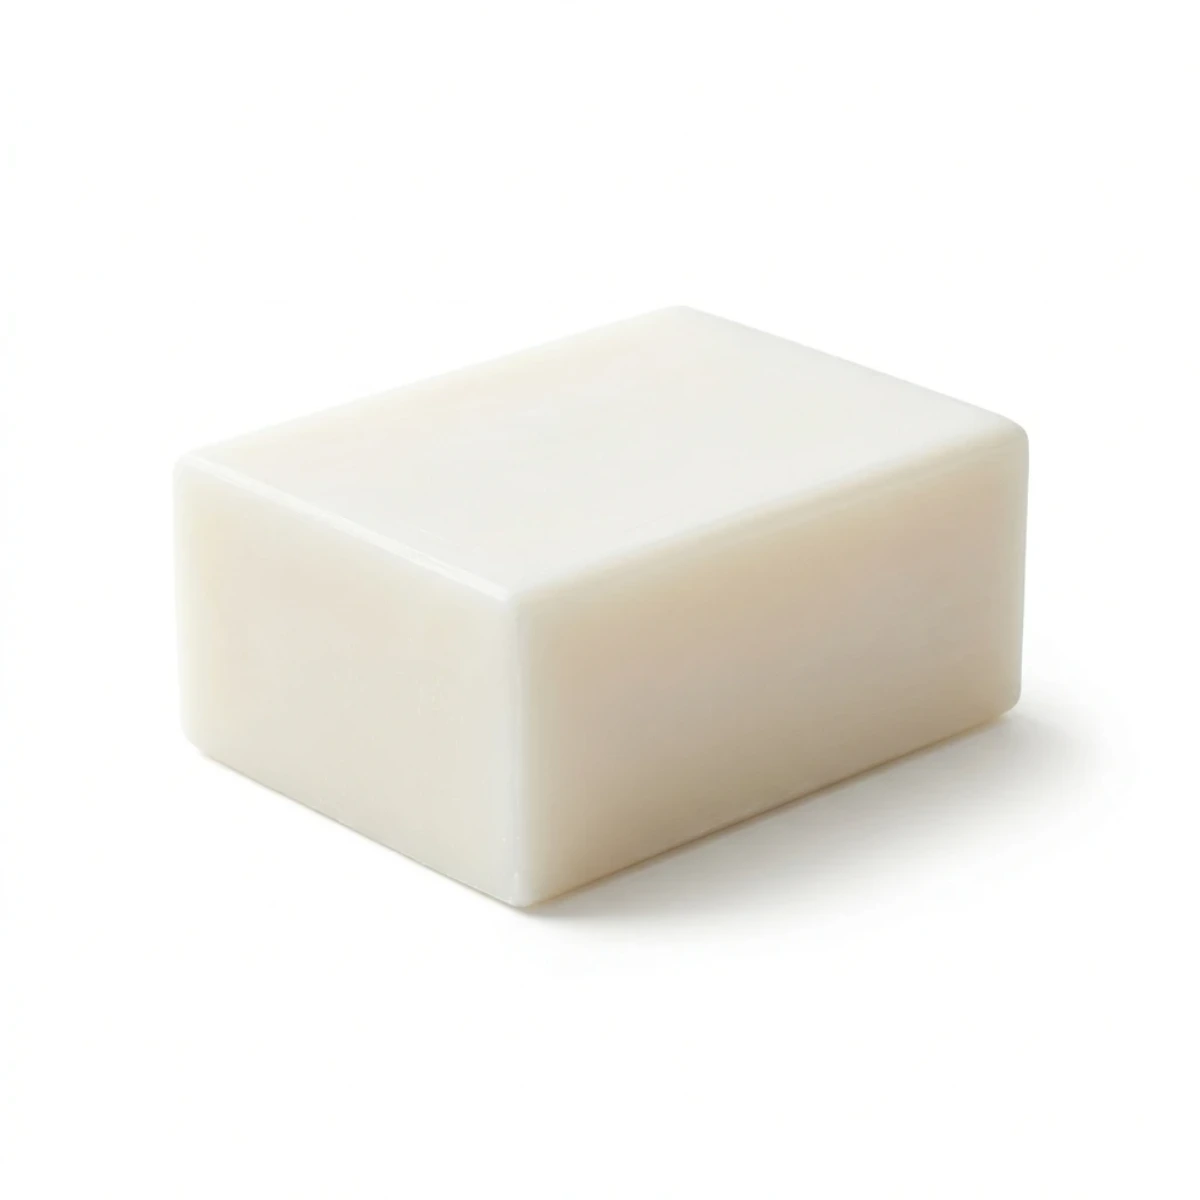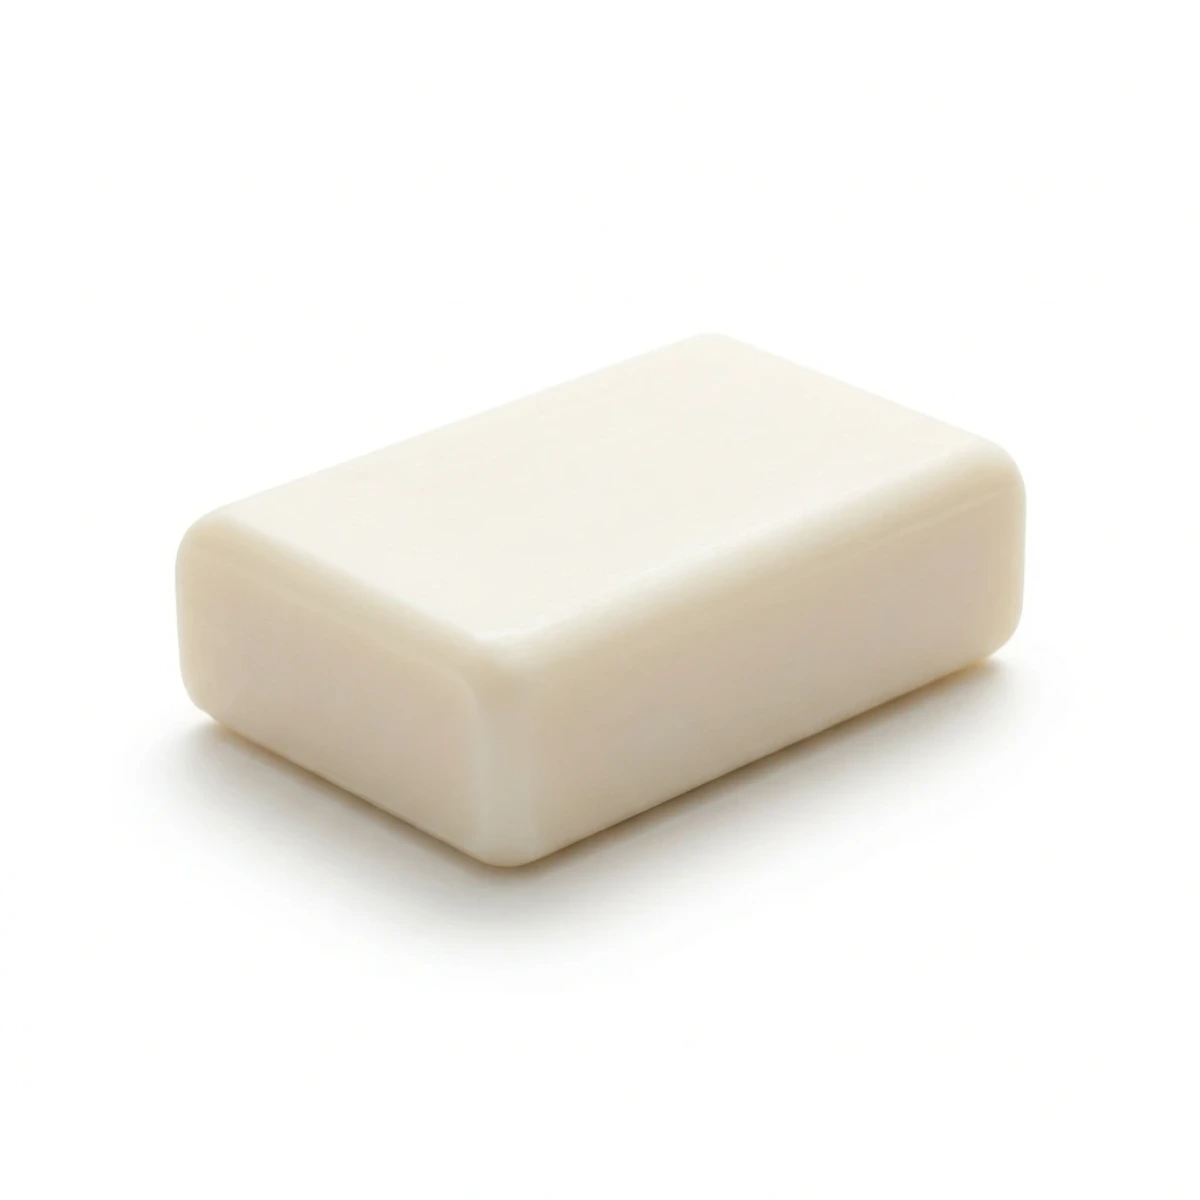

Most first-time soapmakers skip goat milk entirely, convinced that "milk burns" and "lye is too dangerous" for a beginner. The reality is the opposite: when you freeze the milk first and add the lye in slow increments, goat milk soap becomes one of the most forgiving batches you can pour — creamy, gentle, and hard to ruin.
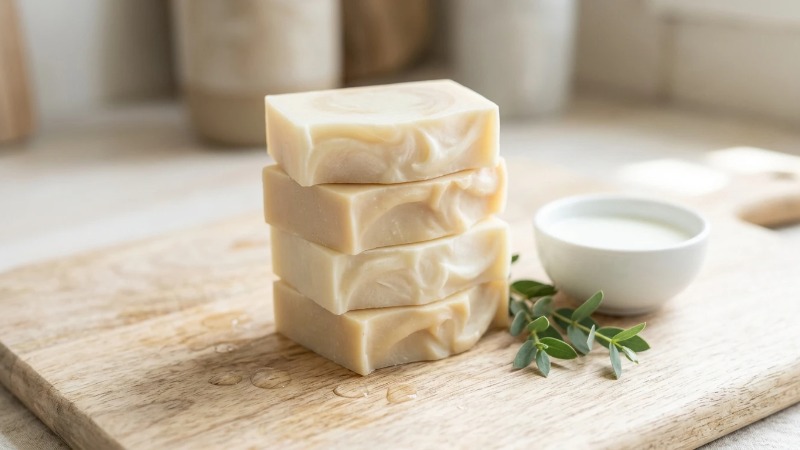
One standard batch yields roughly eight to ten bars, takes about 45 minutes of hands-on work, and then cures on a shelf for four to six weeks. That's the whole commitment. Below is a complete, safe, from-scratch process you can do on your kitchen counter this weekend.
- Freeze the milk and keep everything cool — this single step prevents the scorching that scares beginners.
- Lye is safe when handled with goggles and gloves; no lye remains in a properly cured bar.
- Always run your oils through a lye calculator — recipe amounts are starting points, not gospel.
- Cure 4–6 weeks for a milder, longer-lasting bar.
- Patch-test the finished soap before regular use and avoid unproven skin claims.
Why Goat Milk Soap Isn't as Fussy as You've Heard
Goat milk soap is simply soap made through saponification, where goat milk partly or fully replaces the water normally used to dissolve the lye. That swap is what gives the bars their signature creamy lather and soft skin-feel.
The intimidation factor comes from two myths — that the milk always burns and that lye is a hazard beyond a home cook's control. Both dissolve once you understand the "why" behind each step, which is exactly what this cold process soap making guide covers.
What You'll Be Able to Make by the End
You'll finish with a batch of creamy, cold-process bars that feel gentle and produce a low, stable lather. Goat milk is prized for moisturizing skin-feel and mildness — a fair, honest benefit, not a cure for any skin condition. Keep expectations grounded: this is a nourishing everyday bar, not a medical product.
The Science in Plain English: Saponification, Lye, and Why Milk Changes Things
You don't need chemistry class to make great soap, but a few minutes of "why" makes every later step obvious.
What Saponification Actually Is
Saponification is the reaction between fats and an alkali. In plain terms: oils plus sodium hydroxide (lye) turn into soap plus glycerin. When the recipe is balanced correctly and the bar has cured, no active lye remains — it has all been consumed by the oils.
Why Goat Milk Needs Special Handling
Milk contains natural sugars (lactose) and fats. When lye meets liquid, it releases heat fast, and that heat scorches milk sugars — turning your batch orange, brown, or even giving it a sour, ammonia-like smell.
The fix is refreshingly simple: freeze the milk into slush or cubes, then add the lye a little at a time while stirring. The frozen milk absorbs the heat instead of cooking, keeping colors pale and scent clean.
Cold Process vs. Melt-and-Pour vs. Hot Process
| Method | Difficulty | Uses Raw Lye? | Cure Time | Best For |
|---|---|---|---|---|
| Melt-and-pour | Easiest | No | None | Absolute beginners |
| Cold process | Moderate | Yes | 4–6 weeks | This tutorial |
| Hot process | Moderate | Yes | Shorter | Rustic texture |
This guide focuses on cold process — true from-scratch goat milk soap making, where you control every ingredient. If you want zero lye handling, buy a pre-made melt-and-pour base instead; it's soap someone else already saponified.
Safety First: Handling Lye Without Fear
Read this section before touching any ingredient. Lye (sodium hydroxide) is caustic and can burn skin and eyes, but soapmakers handle it safely every day with a few firm rules.
Required Protective Gear
- Safety goggles that seal around the eyes.
- Chemical-resistant gloves (nitrile or rubber).
- Long sleeves and closed shoes.
- Good ventilation — an open window or range hood, since lye briefly releases fumes when it hits liquid.
Lye Safety Rules That Are Non-Negotiable
- Always add lye to liquid, never liquid to lye. Reversing this can cause a violent, volcano-like reaction.
- Keep a bottle of vinegar nearby. It's commonly kept on hand, though its value as a skin neutralizer is debated — for a splash on skin, rinse with plenty of cool water first, then seek care for anything beyond minor contact.
- Keep children and pets out of the room, and clearly label any container holding lye or lye-milk.
- Use dedicated tools that never return to food use.
Patch Testing the Finished Soap
Everyone's skin differs. If you have sensitive, dry, or reactive skin, wash a small area — like the inner forearm — with the cured bar and wait 24 hours before using it all over. Oily skin generally tolerates a higher-cleansing recipe; very dry skin does better with a gentler, more conditioning formula. When in doubt, test first.
Tools and Ingredients You'll Need
Gather everything before you start. Once the lye goes in, you don't want to be hunting for a spatula.
Equipment Checklist
- Digital scale that measures to 1 gram.
- Stick (immersion) blender.
- Thermometer (instant-read or infrared).
- Two heat-safe containers — one for lye-milk, one for oils.
- Silicone loaf mold.
- Silicone spatula and a stainless or heat-safe stirring spoon.
- Dedicated soap-only tools — never share with cooking gear.
Ingredient List (Sample Beginner Recipe)
| Ingredient | Amount | Role (INCI where useful) |
|---|---|---|
| Olive oil | 300 g | Conditioning (Olea Europaea Oil) |
| Coconut oil | 200 g | Cleansing + hard lather (Cocos Nucifera Oil) |
| Shea butter | 50 g | Moisturizing (Butyrospermum Parkii Butter) |
| Goat milk (frozen) | ~190 g | Liquid + creaminess |
| Sodium hydroxide (lye) | ~77 g | Saponifying agent |
| Essential oil (optional) | 15–20 g | Scent |
These amounts are illustrative. Before you mix a single batch, run your exact oils through a trusted online lye calculator. Different oils need different amounts of lye, and even a small measuring error changes the whole bar. A "superfat" of around 5% (a small oil surplus) keeps the finished soap gentle.
Choosing Fragrance Safely
You have two options: essential oils for soap (plant-derived) or synthetic fragrance oils formulated for cosmetics. Both need to be used within safe usage rates — more is not better, and some essential oils can irritate skin at high doses. Check the supplier's recommended percentage and skip fragrances known to sensitize skin if you're prone to reactions.
Step-by-Step: How to Make Goat Milk Soap (Cold Process)
Work in order, weigh everything by mass, and stay unhurried. Here's the full homemade goat milk soap process.
Step 1 — Freeze and Weigh Your Goat Milk
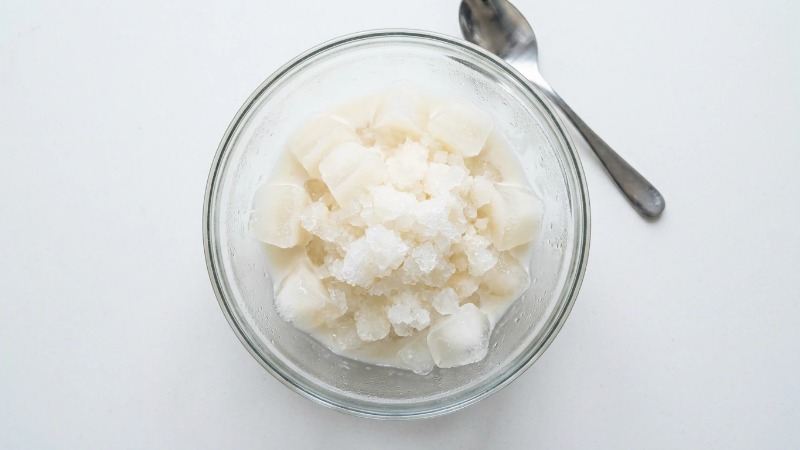
Pour your goat milk into an ice-cube tray or freezer bag and freeze until slushy-to-solid. Then weigh out the exact amount your recipe calls for. Frozen milk is your insurance against scorching. (Image placeholder: frozen goat milk cubes.)
Step 2 — Measure Oils and Lye Accurately
Weigh each oil and butter individually on the digital scale. Weigh the lye separately in a dry container. Double-check the lye amount against your calculator output — this is the number that matters most.
Step 3 — Slowly Add Lye to Frozen Milk
Set the container of frozen milk in a sink or ice bath. Add the lye in small spoonfuls, stirring gently between additions, letting the frozen milk melt as it absorbs the heat. Keep the temperature low — ideally under about 90°F (32°C). If it starts to turn yellow, slow down. (Image placeholder: thermometer temperature check.)
Step 4 — Melt and Combine the Oils
Gently melt the coconut oil and shea butter, then stir in the olive oil. Let the blend cool to a low temperature close to your lye-milk — both in a similar, cool range helps prevent overheating once combined.
Step 5 — Blend to Trace
Pour the lye-milk into the oils. Pulse with the stick blender in short bursts, alternating with hand-stirring, until you reach "trace" — when the mixture thickens enough that a drizzle leaves a faint trail on the surface, like thin pudding. For milk soaps, stop at a light trace. (Image placeholder: light trace in the pot.)
Step 6 — Add Fragrance and Pour
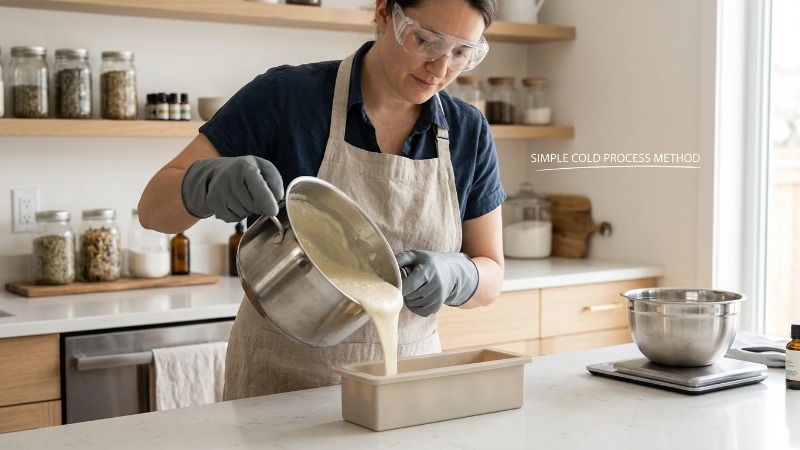
Stir in your essential or fragrance oil, mix evenly, and pour the batter into your silicone mold. Tap the mold firmly on the counter a few times to release trapped air bubbles.
Step 7 — Insulate (or Not) and Prevent Overheating
Cold process soap can go through "gel phase," a warm stage that deepens color. With milk soaps, that extra heat risks scorching, so many soapmakers do the opposite of insulating — they place the mold in a cool spot or even the refrigerator for the first day to keep the color pale.
Step 8 — Unmold and Cut
After roughly 24 to 48 hours, the loaf should feel firm enough to pop out of the mold. Cut it into bars while it's still slightly soft to avoid crumbling. (Image placeholder: freshly cut bars.)
Step 9 — Cure for 4–6 Weeks
Set the bars on a rack with space between them and let them cure for four to six weeks. During curing, water evaporates, the bar hardens, the lather improves, and the pH settles to a milder level. Patience here is what separates a soft, short-lived bar from a firm, long-lasting one.
How to Know It Worked: Testing and Quality Checks
A little verification confirms your bar is safe and ready.
The pH and Zap Test Explained
You can check a cured bar with pH strips on a wet lather — a finished soap should read mild, generally in the high single digits, not harshly alkaline. The old "zap test" (a quick touch of the tongue to the bar; a battery-like zap means active lye remains) is traditional but optional — if you're unsure, trust pH strips and a full cure instead.
Signs of a Good Cure
- The bar feels hard and rings slightly when tapped.
- Lather is creamy and stable, not thin or drying.
- Scent is clean, with no sour or ammonia note.
- Color is even, without orange scorch patches.
Troubleshooting Common Goat Milk Soap Problems
| Problem | Likely Cause | Fix |
|---|---|---|
| Orange/brown soap | Milk overheated | Use frozen milk, keep temps low |
| Crumbly texture | Too much lye or bad measurement | Recheck with a lye calculator |
| Oily film on top | False trace or unmixed oils | Blend fully to true trace next time |
| Soft bars after weeks | High water or soft oils | Extend cure, adjust recipe hardness |
| Sour smell | Spoiled milk or overheating | Use fresh milk, stay cool throughout |
Customizing Your Recipe
Once your first batch succeeds, small tweaks let you tailor the bar — carefully.
Adjusting for Skin Type
Dry skin tends to like more conditioning oils (like extra olive oil or shea butter) and a slightly higher superfat. Oily skin can handle a bit more coconut oil for a stronger cleanse, though too much can feel drying. "Superfat" simply means the small percentage of oils left unsaponified to nourish skin — around 5% is a comfortable default.
Natural Colorants and Add-Ins
Popular additions include cosmetic clays, finely ground oatmeal, and a touch of honey. Use them sparingly and follow tested usage rates — honey especially can overheat a batch. These add-ins can affect texture and appearance, but treat any "skin benefit" claims cautiously; pleasant does not equal clinically proven.
Frequently Asked Questions
Is goat milk soap safe for sensitive skin?
Many people with sensitive skin find goat milk soap gentle, thanks to its creamy, mild lather. That said, everyone reacts differently, so patch-test on a small area for 24 hours before regular use. Goat milk soap is a cosmetic cleanser, not a treatment for eczema, dermatitis, or other conditions — consult a professional for those.
Can I make goat milk soap without lye?
True soap made from scratch requires lye — saponification cannot happen without it. If you'd rather not handle lye, use a pre-made melt-and-pour base, which was already saponified by the manufacturer. You'll still get to add goat milk-style richness, fragrance, and molds, minus the raw chemistry.
How long does homemade goat milk soap last?
A well-cured bar typically stays good for about a year, sometimes longer, depending on your oils. Store it in a cool, dry place with airflow, and keep it out of a puddle in the shower so it dries between uses. Bars high in soft oils may develop orange "dreaded spots" sooner.
Can I use store-bought goat milk?
Yes. Fresh, canned, or powdered goat milk all work. Fresh and canned go straight into the frozen-milk method; powdered milk is usually mixed with water or added at trace per the package. Each option is a fine trade-off between convenience and that ultra-creamy fresh-milk feel.
Is DIY goat milk soap legal to sell?
Selling soap is generally allowed, but cosmetic labeling and safety rules vary by country and region. If you make any cleansing or skin claims, stricter regulations may apply, and ingredient labeling is often required. Before selling, check your local cosmetic and labeling regulations — treat home use and commercial sale as two different responsibilities.
Your Next Step: Make Your First Batch This Weekend
You now have the whole goat milk soap recipe and process — from freezing the milk to cutting cured bars. The best way to lock it in is to actually pour a batch, so pick a free afternoon, gather your gear, and start with the sample recipe above.
Print the equipment checklist and safety rules, run your oils through a lye calculator, and set your bars to cure. When they're ready in a few weeks, share how they turned out — and if you'd like a printable recipe card and safety checklist to keep on the fridge, subscribe to grab your copy and keep experimenting with confidence.