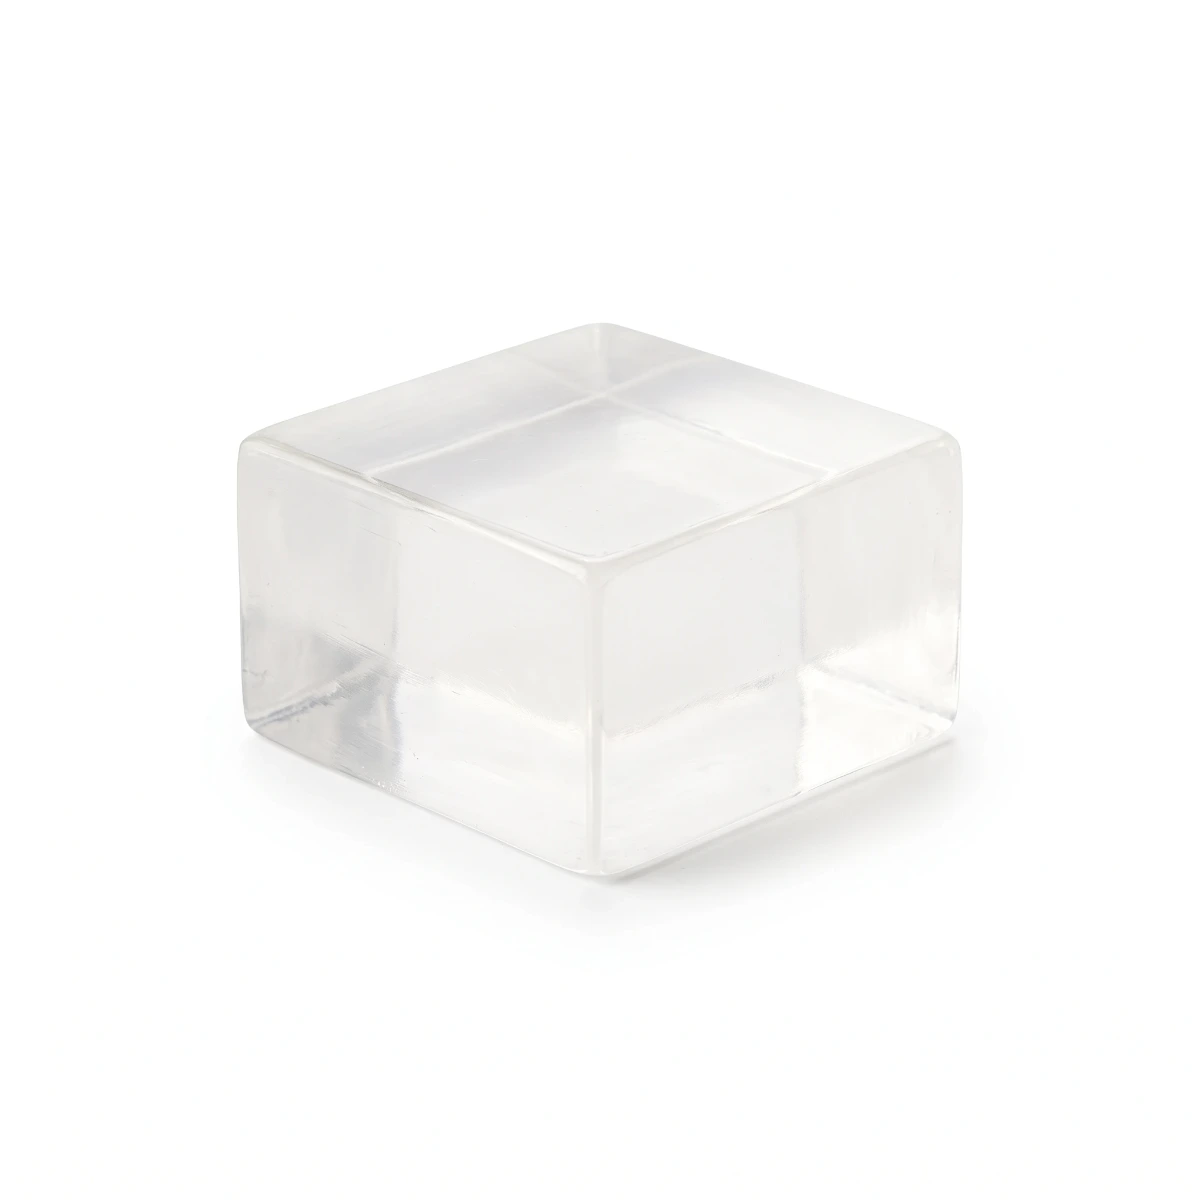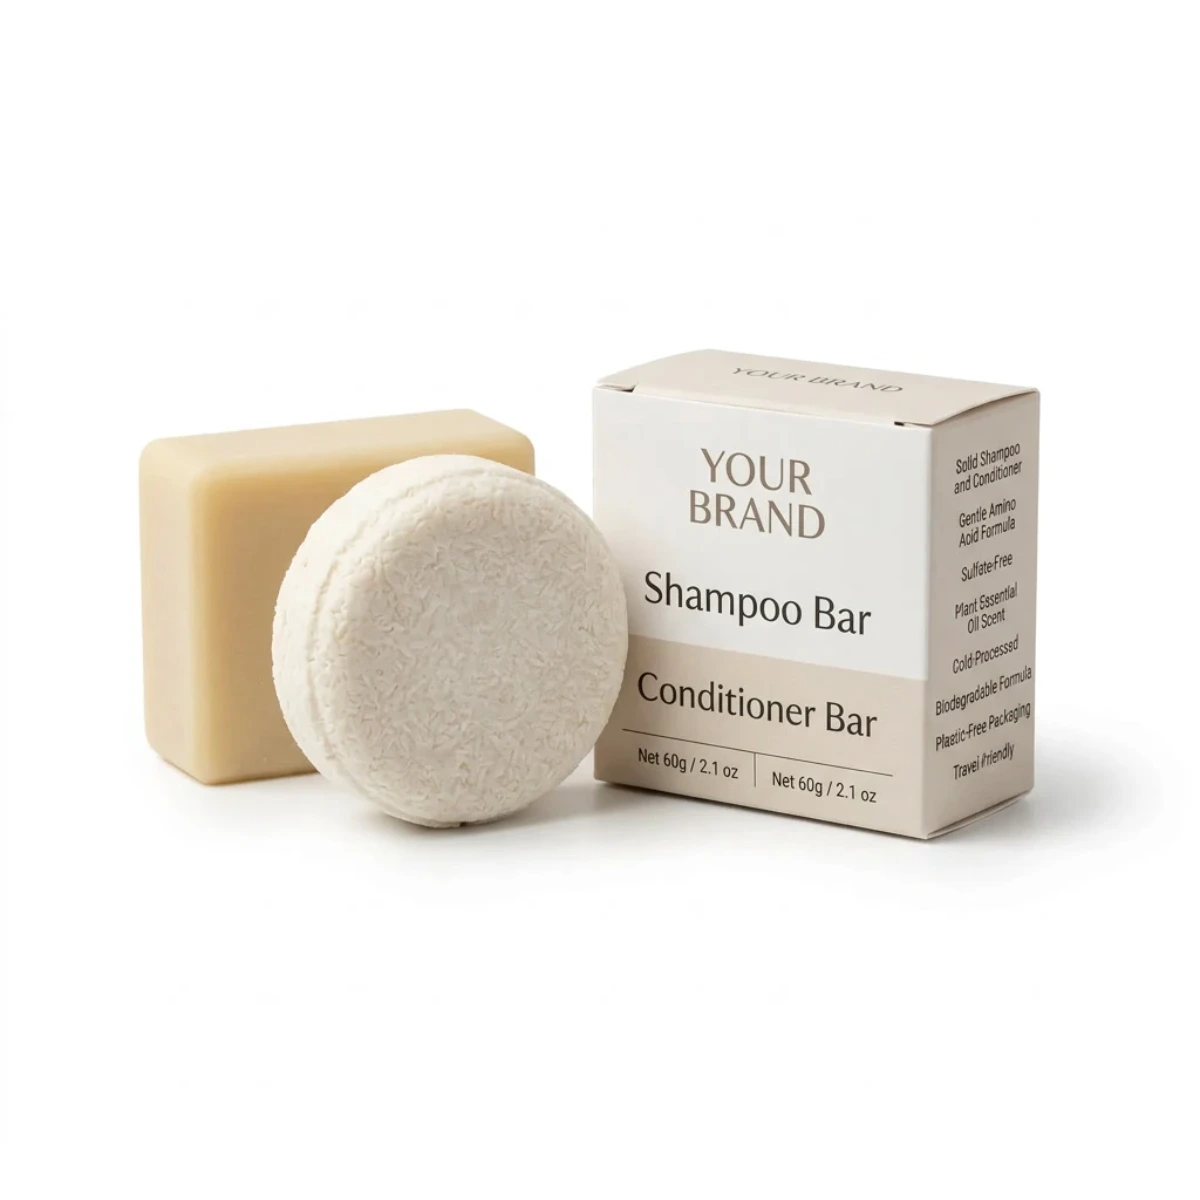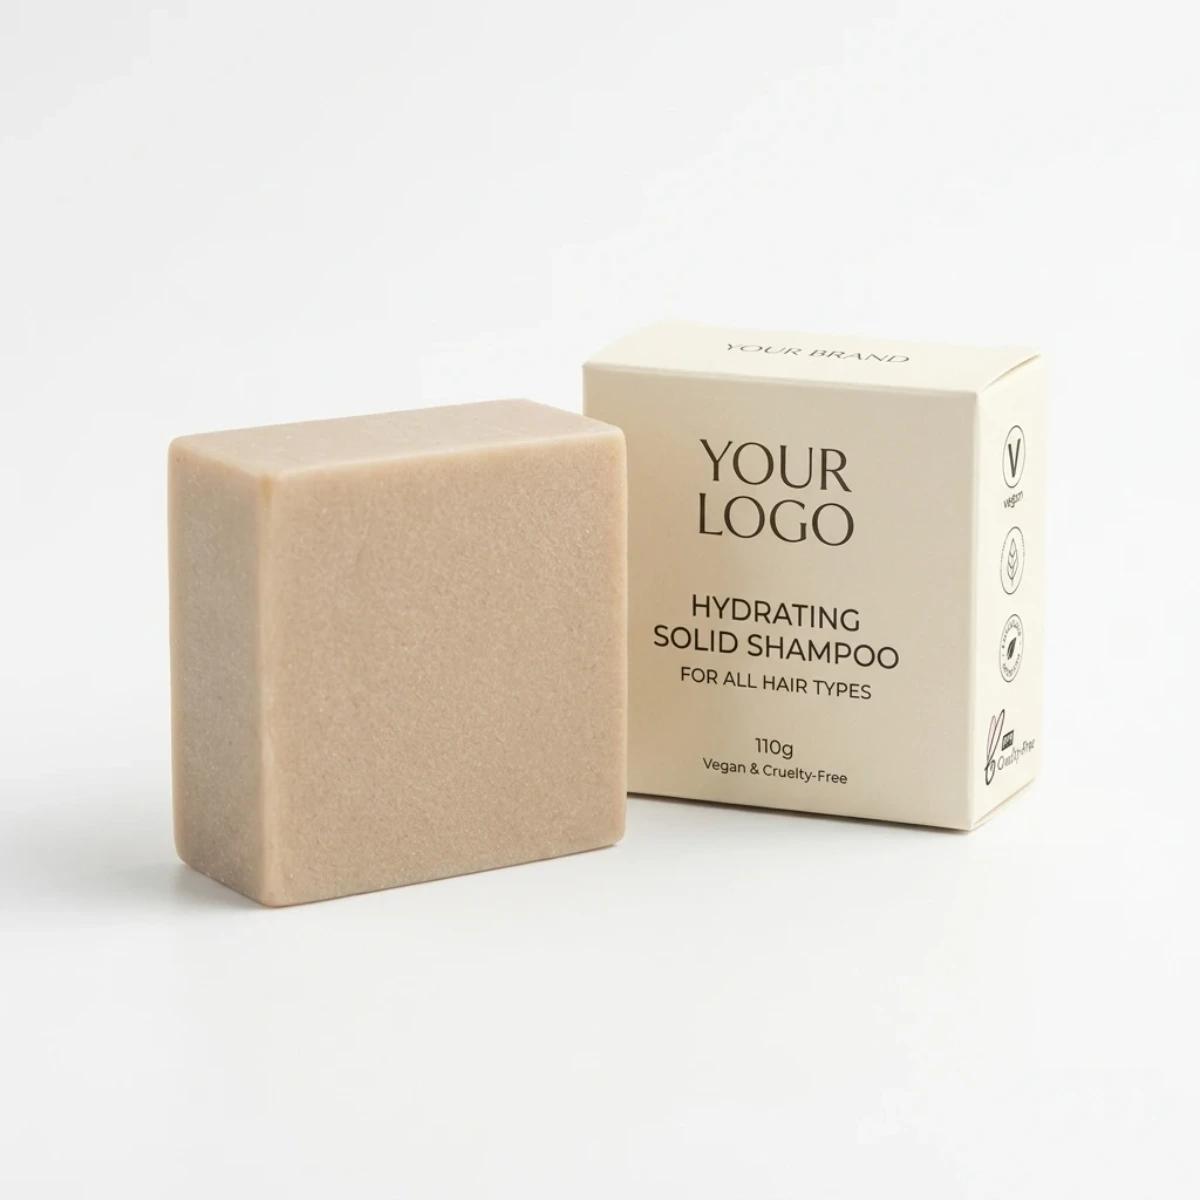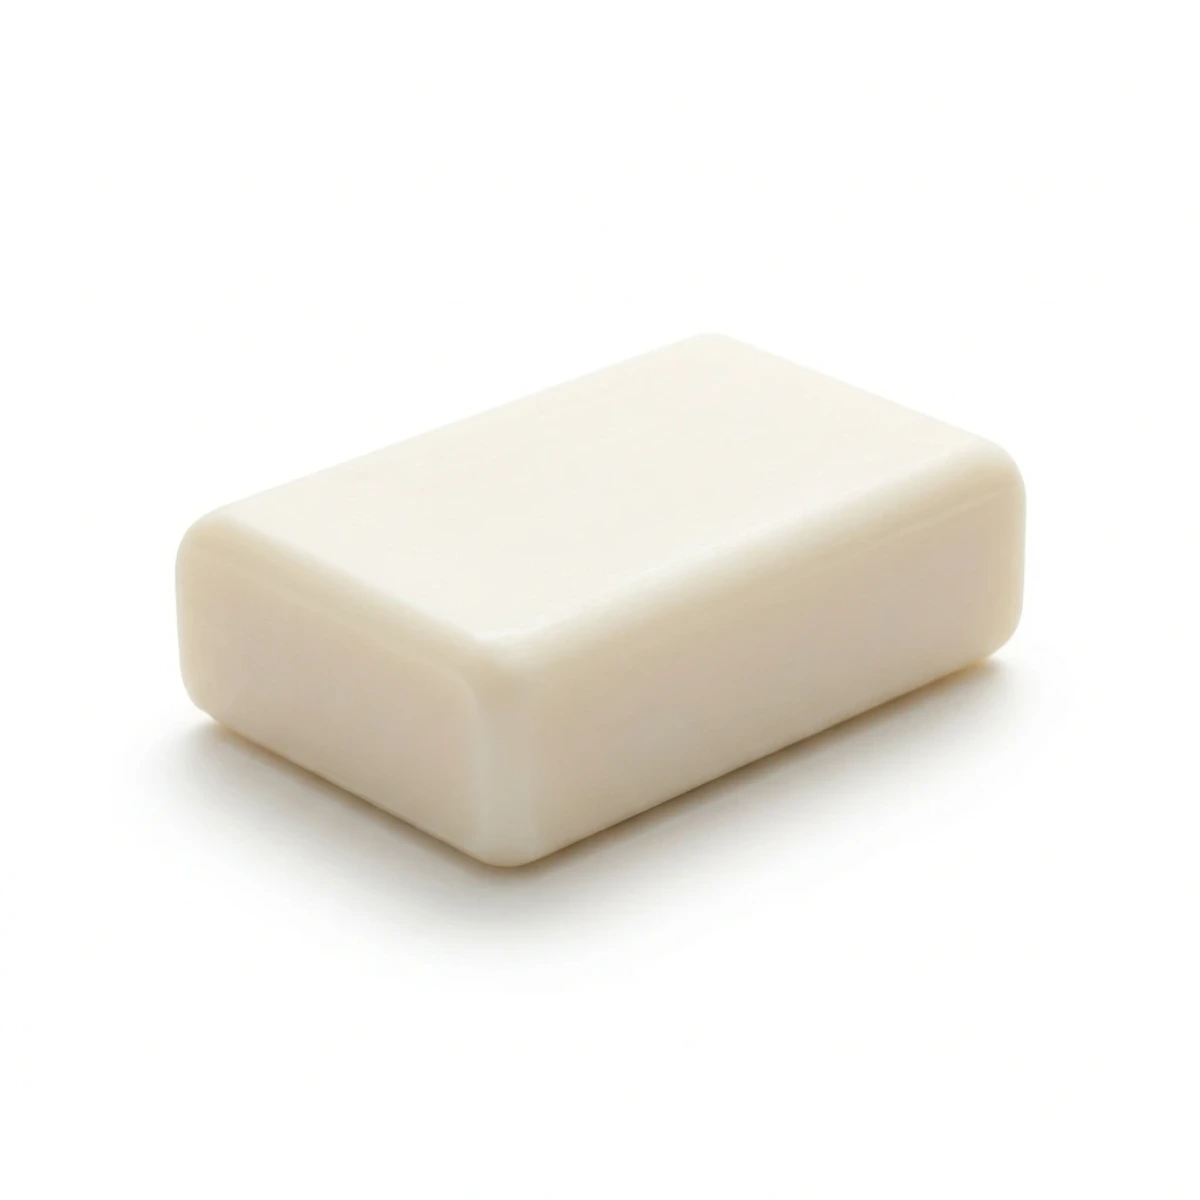

Nine p.m. on a Sunday, and your kitchen counter holds a cutting board, a glass measuring cup, and a one-pound brick of translucent soap base you bought three weeks ago. You've watched the videos twice. You still don't know whether to stir it, spray it, or just leave it alone. Melt and pour is the one soap method you can get right on the first attempt — if you know the four numbers that matter.
- No lye, no cure: melt and pour uses a pre-saponified base, so you melt, color, scent, and pour — bars are usable in about two hours, not six weeks.
- One pound makes four bars: a 454 g (1 lb) block fills a standard 4-cavity mold, enough to test a recipe before buying in bulk.
- Temperature beats brand: pour between 130–145°F (54–63°C) for clean layers, glossy tops, and fewer trapped bubbles.
- Fragrance is dosed, not poured: roughly 0.5–1% of base weight, capped by your supplier's IFRA limit for that specific oil.
- Patch test anything scented: 24 hours on the inner forearm catches most irritation before it reaches your whole body.
Why Melt And Pour Is the Soap Recipe That Doesn't Fail
Melt and pour soap is a pre-saponified glycerin base that you remelt and reshape, so the lye reaction has already happened at the factory and you are only working with wax, color, and fragrance. That removes the two things that ruin beginner batches: caustic soda handling and a four-to-six week cure.
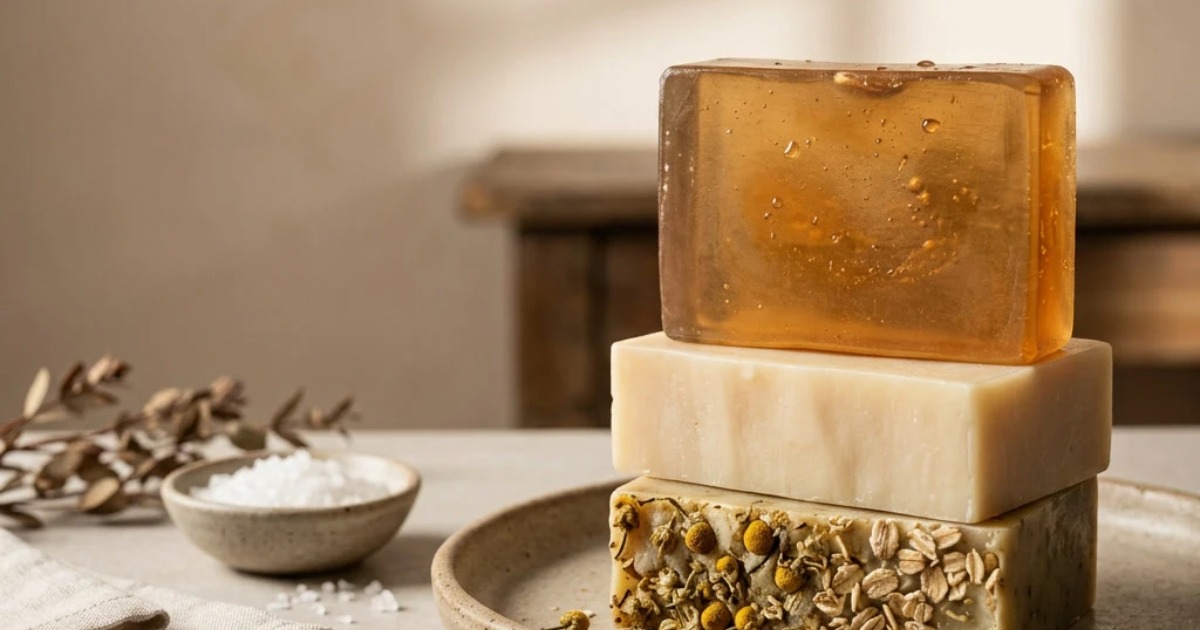
Cold process soap makers mix sodium hydroxide with oils and wait. You don't. You cut, melt, and pour. The trade-off is real — you inherit whatever oils the base maker chose — but the failure rate for a first batch drops from "maybe" to "almost certainly fine."
What's Actually In a Melt And Pour Base
Flip the block over and you'll see a short list. Glycerin usually leads, because it's what makes the bar translucent and draws moisture to the skin surface. Then coconut or palm oil, sorbitol (a humectant that keeps the bar from cracking), purified water, and sodium hydroxide — listed last because none of it remains after saponification.
Some bases add sodium lauryl sulfate or sodium cocoyl isethionate for faster lather. That's not a flaw; it's a lather booster, and it's the same class of ingredient in most commercial body washes.
Here's where labels mislead. "Glycerin soap" describes a clear, high-glycerin base — the kind you see in transparent bars with embedded toys. "Shea butter soap base" is an opaque white base with shea butter added at a few percent. Both are melt and pour. The difference is feel and appearance, not quality tier.
Cold Process vs. Melt And Pour: What You Give Up
Cold process gives you total control over the oil blend and produces a denser bar that lasts longer in the shower. Melt and pour gives you a finished product the same evening with no dangerous chemicals on the counter. Which matters more depends on whether you're formulating or making gifts.
| Factor | Cold Process | Melt And Pour |
|---|---|---|
| Time to first usable bar | 4–6 weeks cure | 1–2 hours |
| Lye handling | Required (sodium hydroxide) | None |
| Formulation control | Full — you choose every oil | Limited to the purchased base |
| Scent retention | Higher; fragrance binds during cure | Moderate; some fades in 3–6 months |
| Bar hardness | Harder, longer-lasting | Softer, dissolves faster |
If you want bars that survive a steamy shower for a month, cold process wins. If you want to hand someone a finished soap on Saturday, melt and pour is the only realistic option.
What Supplies Do You Actually Need to Start
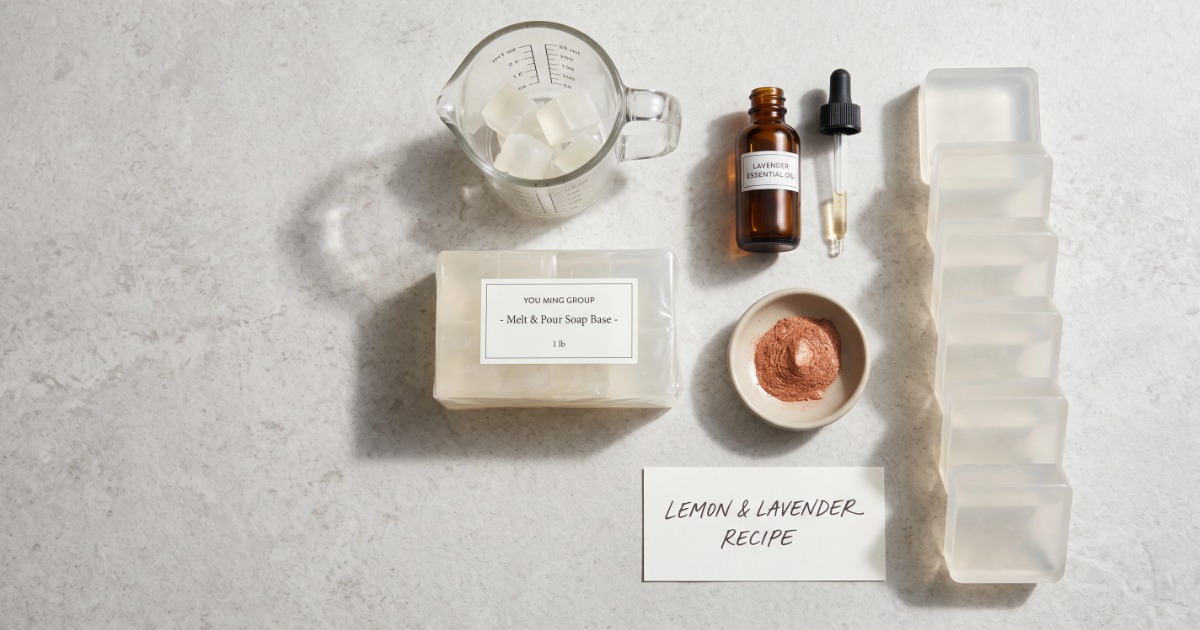
A workable melt and pour setup costs about $45–$65 and needs five core items: 1 lb (454 g) of soap base, a heat-safe glass measuring cup with a spout, one silicone mold, a colorant, and a skin-safe fragrance oil. A thermometer, isopropyl alcohol in a spray bottle, and a cutting mat improve results but aren't strictly necessary for a first batch.
The Starter Kit, Item by Item
- Soap base (1 lb / 454 g): $6–$12 depending on type. Buy one, not five, until you know which finish you like.
- Heat-safe measuring cup (2-cup / 500 ml): $8–$15. Glass with a pour spout beats plastic — you can see the melt and control the stream.
- Silicone mold (4-cavity): $8–$20. Silicone flexes so bars pop out without cracking. Avoid rigid plastic until you've practiced.
- Colorant: $5–$10. Use soap-stable liquid color or mica dispersed in glycerin. Food coloring bleeds and fades.
- Fragrance or essential oil: $6–$14 for a small bottle. Must be labeled skin-safe and come with IFRA documentation.
The nice-to-haves: a digital thermometer ($10–$15) is the single best upgrade because temperature drives most beginner failures. Isopropyl alcohol at 91% or higher in a spray bottle runs about $5 and eliminates surface bubbles. A dedicated cutting mat or board keeps fragrance oils off your food prep surfaces.
Safety Basics You Shouldn't Skip
No lye doesn't mean no risk. Melted base sits at 130–145°F (54–63°C) — hot enough to leave a red mark if it splashes on your wrist. Concentrated fragrance oils can irritate skin on contact and cause headaches in an unventilated kitchen.
Work near an open window or run the exhaust fan. Wear nitrile gloves when handling undiluted fragrance. Keep cups of hot base back from the counter edge, and don't let kids or pets underfoot while you're pouring. If base does hit your skin, run cool water over it for several minutes — not hot.
How Do You Make Melt And Pour Soap, Step by Step
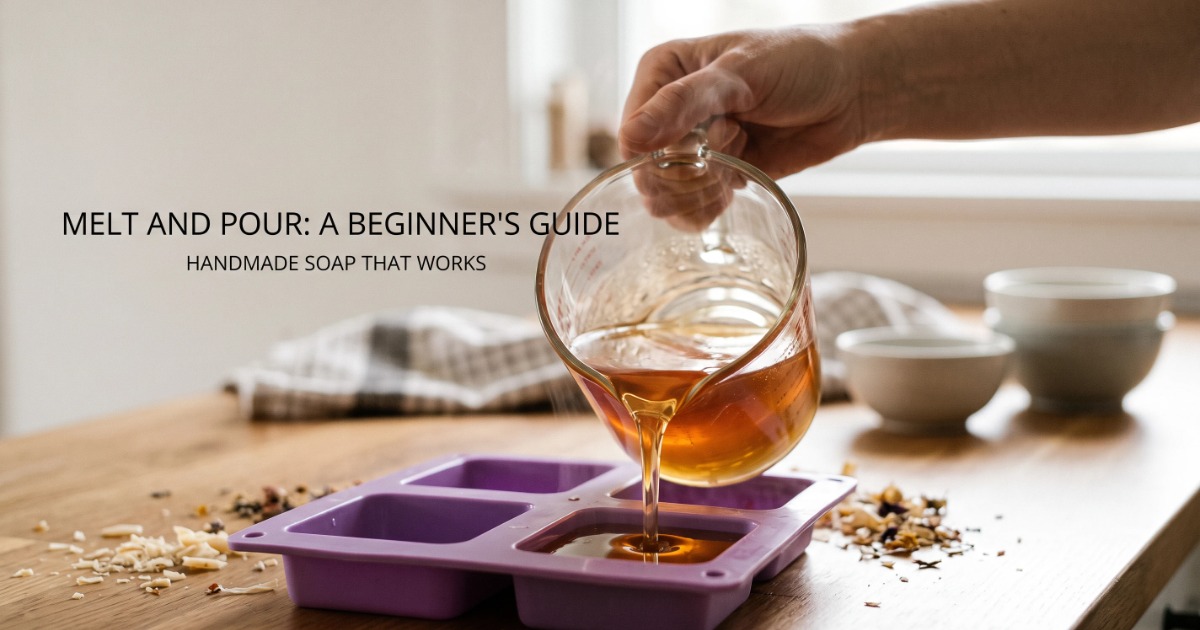
Melt and pour soap comes together in seven steps: cut the base, melt it in short bursts, cool to 130–145°F (54–63°C), stir in color then fragrance, spray the mold, pour slowly, and let it set 1–2 hours before unmolding. The whole process takes about 30 minutes of active work.
Step-by-Step Instructions
- Cut the base into ½-inch cubes. Smaller pieces melt evenly and won't scorch at the edges while the center stays solid. A kitchen knife and cutting board work fine.
- Melt in 20–30 second microwave bursts. Stir between every burst. Stop when no solid chunks remain. A double boiler works too and gives you more control — see the FAQ below.
- Check the temperature. Let it drop to 130–145°F (54–63°C). Above 150°F you burn off fragrance; below 120°F the base starts skinning over before it reaches the mold.
- Add color, one drop at a time. Stir fully and check against a white plate before adding more. You can always darken; you can't lighten.
- Add fragrance at 0.5–1% of base weight. For 1 lb (454 g) of base, that's about 2.3–4.5 g — roughly ½ to 1 teaspoon. Never exceed your supplier's IFRA maximum for that oil.
- Spray the mold lightly with isopropyl alcohol. One or two passes knocks down bubbles before the pour. Let it evaporate for a few seconds.
- Pour slowly, then spray the surface. A thin, steady stream reduces trapped air. A final alcohol mist clears foam across the top.
- Set 1–2 hours at room temperature, then unmold. Press from the back of the silicone cavity. If it resists, wait another 20 minutes — forcing it tears the bar.
Fixing the Three Things That Usually Go Wrong
White film on top (soda ash). A chalky haze forms when the surface cools unevenly or picks up moisture. Spray alcohol immediately after pouring and cover the mold loosely with a towel. If it still appears, wipe it off with a damp cloth — the bar is fine.
Fragrance seeping out as beads. You used too much. Fragrance oil has a saturation point; past it, the excess migrates to the surface. Cut to 0.5% on the next batch and store finished bars in a cool, dry drawer.
Layers separating. The second color was poured too hot, melting the layer beneath it. Wait until the first layer has a firm skin and is no warmer than 130°F (54°C), then mist it with alcohol and pour the next layer at 130–135°F (54–57°C).
Layered, Swirled, and Embed Recipes
Once the basic pour works, three variations cover most beginner designs. Each needs one change to temperature or timing.
- Pencil-line layers: pour each color at 130°F (54°C), wait 15–20 minutes between pours until the surface is firm, and mist with alcohol before every new layer.
- In-the-mold swirl: pour two colors at 135–140°F (57–60°C), then drag a skewer through them in an S pattern within 60 seconds — after that the base thickens and the swirl turns muddy.
- Embedded shapes: make small bars or shapes a day ahead, place them in the mold, and pour fresh base at 130°F (54°C) over them. Hotter base melts the embed and blurs the edges.
Which Soap Base Should You Choose
Match the base to the finish you want: clear glycerin for transparent and swirled designs, opaque white for saturated color and stamping, shea butter for a creamier lather, and goat milk for a softer, milder feel. Buy the base that produces the look you're after rather than the one with the longest ingredient list.
How the Common Bases Compare
| Base Type | Appearance | Lather Feel | Pour Temp | Typical Cost / lb |
|---|---|---|---|---|
| Clear glycerin | Transparent, glossy | Light, quick | 130–140°F | $6–$10 |
| White / opaque | Solid white, matte | Light, quick | 130–140°F | $6–$10 |
| Shea butter | Off-white, creamy | Rich, dense | 135–145°F | $9–$14 |
| Goat milk | Ivory to tan | Soft, creamy | $9–$15 | |
| Oatmeal | Beige, speckled | Gentle, mild | 135–145°F | $10–$15 |
| Charcoal | Dark grey to black | Light, quick | 130–140°F | $9–$14 |
Costs above reflect typical supplier price bands for a 1 lb (454 g) retail block; buying 5 lb or 10 lb slabs usually drops the per-pound rate by 20–35%. Clear and white bases are the most forgiving for beginners because they show color accurately and unmold cleanly.
Reading Certifications on a Base Label
Three documents matter when you evaluate a base supplier. GMPc (Good Manufacturing Practice) confirms the facility follows hygiene and process controls. ISO 22716 is the international cosmetics-specific equivalent, covering production, storage, and distribution. A COA (Certificate of Analysis) is batch-specific — it reports what was actually tested in the lot you received, not a general claim.
A paraben-free or cruelty-free statement on the base label applies to the base itself. Once you add your own fragrance, colorant, or packaging claim, the finished bar carries its own set of declarations — and if you sell it, those become your responsibility.
Where Do DIY Recipes Meet Private Label Soap
Home batches work as a testing ground for scent, color, and shape, but selling soap at any volume requires formulation consistency, stability testing, and regulatory documentation that a private label soap manufacturer is set up to provide. The recipe is the easy part; the compliance file is the real work.
From Kitchen Batch to Sellable Product
A recipe that behaves at 1 lb often shifts at 50 lb. Fragrance dosing by eye becomes a measurement problem — a 0.2% deviation across a large batch is enough to change scent strength noticeably. Color matching drifts between lots. And a bar that looks fine on your counter after a week may sweat or fade after three months in a warehouse.
That's where stability testing, batch records, and documented COAs enter. Retailers and distributors ask for them before they ask about your scent lineup.
What a Custom Soap OEM Actually Handles
Poleview Group, a personal care manufacturer in China operating Boymay Cosmetics Co., Ltd. and Poleview Biotechnology Co., Ltd., provides OEM and ODM services covering efficacy, ingredients, color, scent, packaging, and label printing for bar soap, bath bombs, shower steamers, bath salts, and related items. Certifications and documentation available include GMPc, FDA, ISO 22716, audit reports, MSDS, COA, and stability reports. Its dust-free workshop runs automated stamping, filling, labeling, and packing lines.
How Much Does It Cost to Make Melt And Pour Soap at Home
A homemade melt and pour bar typically lands between $0.85 and $1.60 per bar in materials once you own the mold, compared with roughly $0.45–$1.10 per unit at manufacturer piece pricing for orders in the low thousands. DIY wins for personal use and gifting; manufacturing wins once labor enters the equation.
Cost Per Bar, Broken Down
| Cost Item | 4-Bar Batch | 12-Bar Batch |
|---|---|---|
| Soap base (1 lb / 3 lb) | $9.00 | $23.00 |
| Fragrance oil | $0.60 | $1.60 |
| Colorant | $0.30 | $0.55 |
| Packaging (wrap + label) | $1.20 | $3.00 |
| Mold amortized (≈$15 over 30 uses) | $0.50 | $0.50 |
| Approx. cost per bar | $2.90 | $2.39 |
Buying base in 5 lb slabs and fragrance in 4 oz bottles drops the 12-bar per-unit figure toward $1.60–$1.80. Molds are the biggest one-time cost and amortize fast.
When DIY Stops Making Financial Sense
Time is the honest limit. A 12-bar batch takes roughly 45 minutes of hands-on work plus 2 hours of setting time — call it $3–$5 of your labor per bar at a modest hourly rate. Once packaging and labeling are counted, a small-batch seller often spends more per unit than a manufacturer quotes for a finished, documented, shelf-ready bar.
DIY stays worth it when the product is for you, for gifts, or for validating a scent before you commit to a production run.
Frequently Asked Questions
Can I make melt and pour soap without a microwave?
Yes. A double boiler on the stovetop works and gives you better temperature control because the water bath holds at roughly 180–200°F, gently melting the base without hot spots. Stir occasionally and keep the pot covered so steam doesn't add moisture to the melt.
Why did my soap sweat or form beads after a few days?
Almost always too much fragrance oil or storage in a humid spot. Reduce to the supplier's recommended percentage, and wrap finished bars in shrink film or keep them in an airtight box away from bathroom steam.
Is melt and pour soap as good for skin as cold process?
Both clean effectively; melt and pour carries added glycerin, while cold process lets you choose the base oils entirely. Sensitive-skin users should patch test either type, since fragrance is the most common irritant in both.
Do I need to cure melt and pour soap?
No curing is required — saponification is already complete. Letting bars sit uncovered for 12–24 hours still helps by releasing surface moisture, which reduces sweating once they're wrapped.